

I love make-up and I feel like I’m not bad at it but I’m a novice at best. That’s where Lindsay comes in. This girl is a pro (no, really. she is and is available for hire!) and after watching her work at my pal Maggie’s wedding, I begged her to share her skills over here.
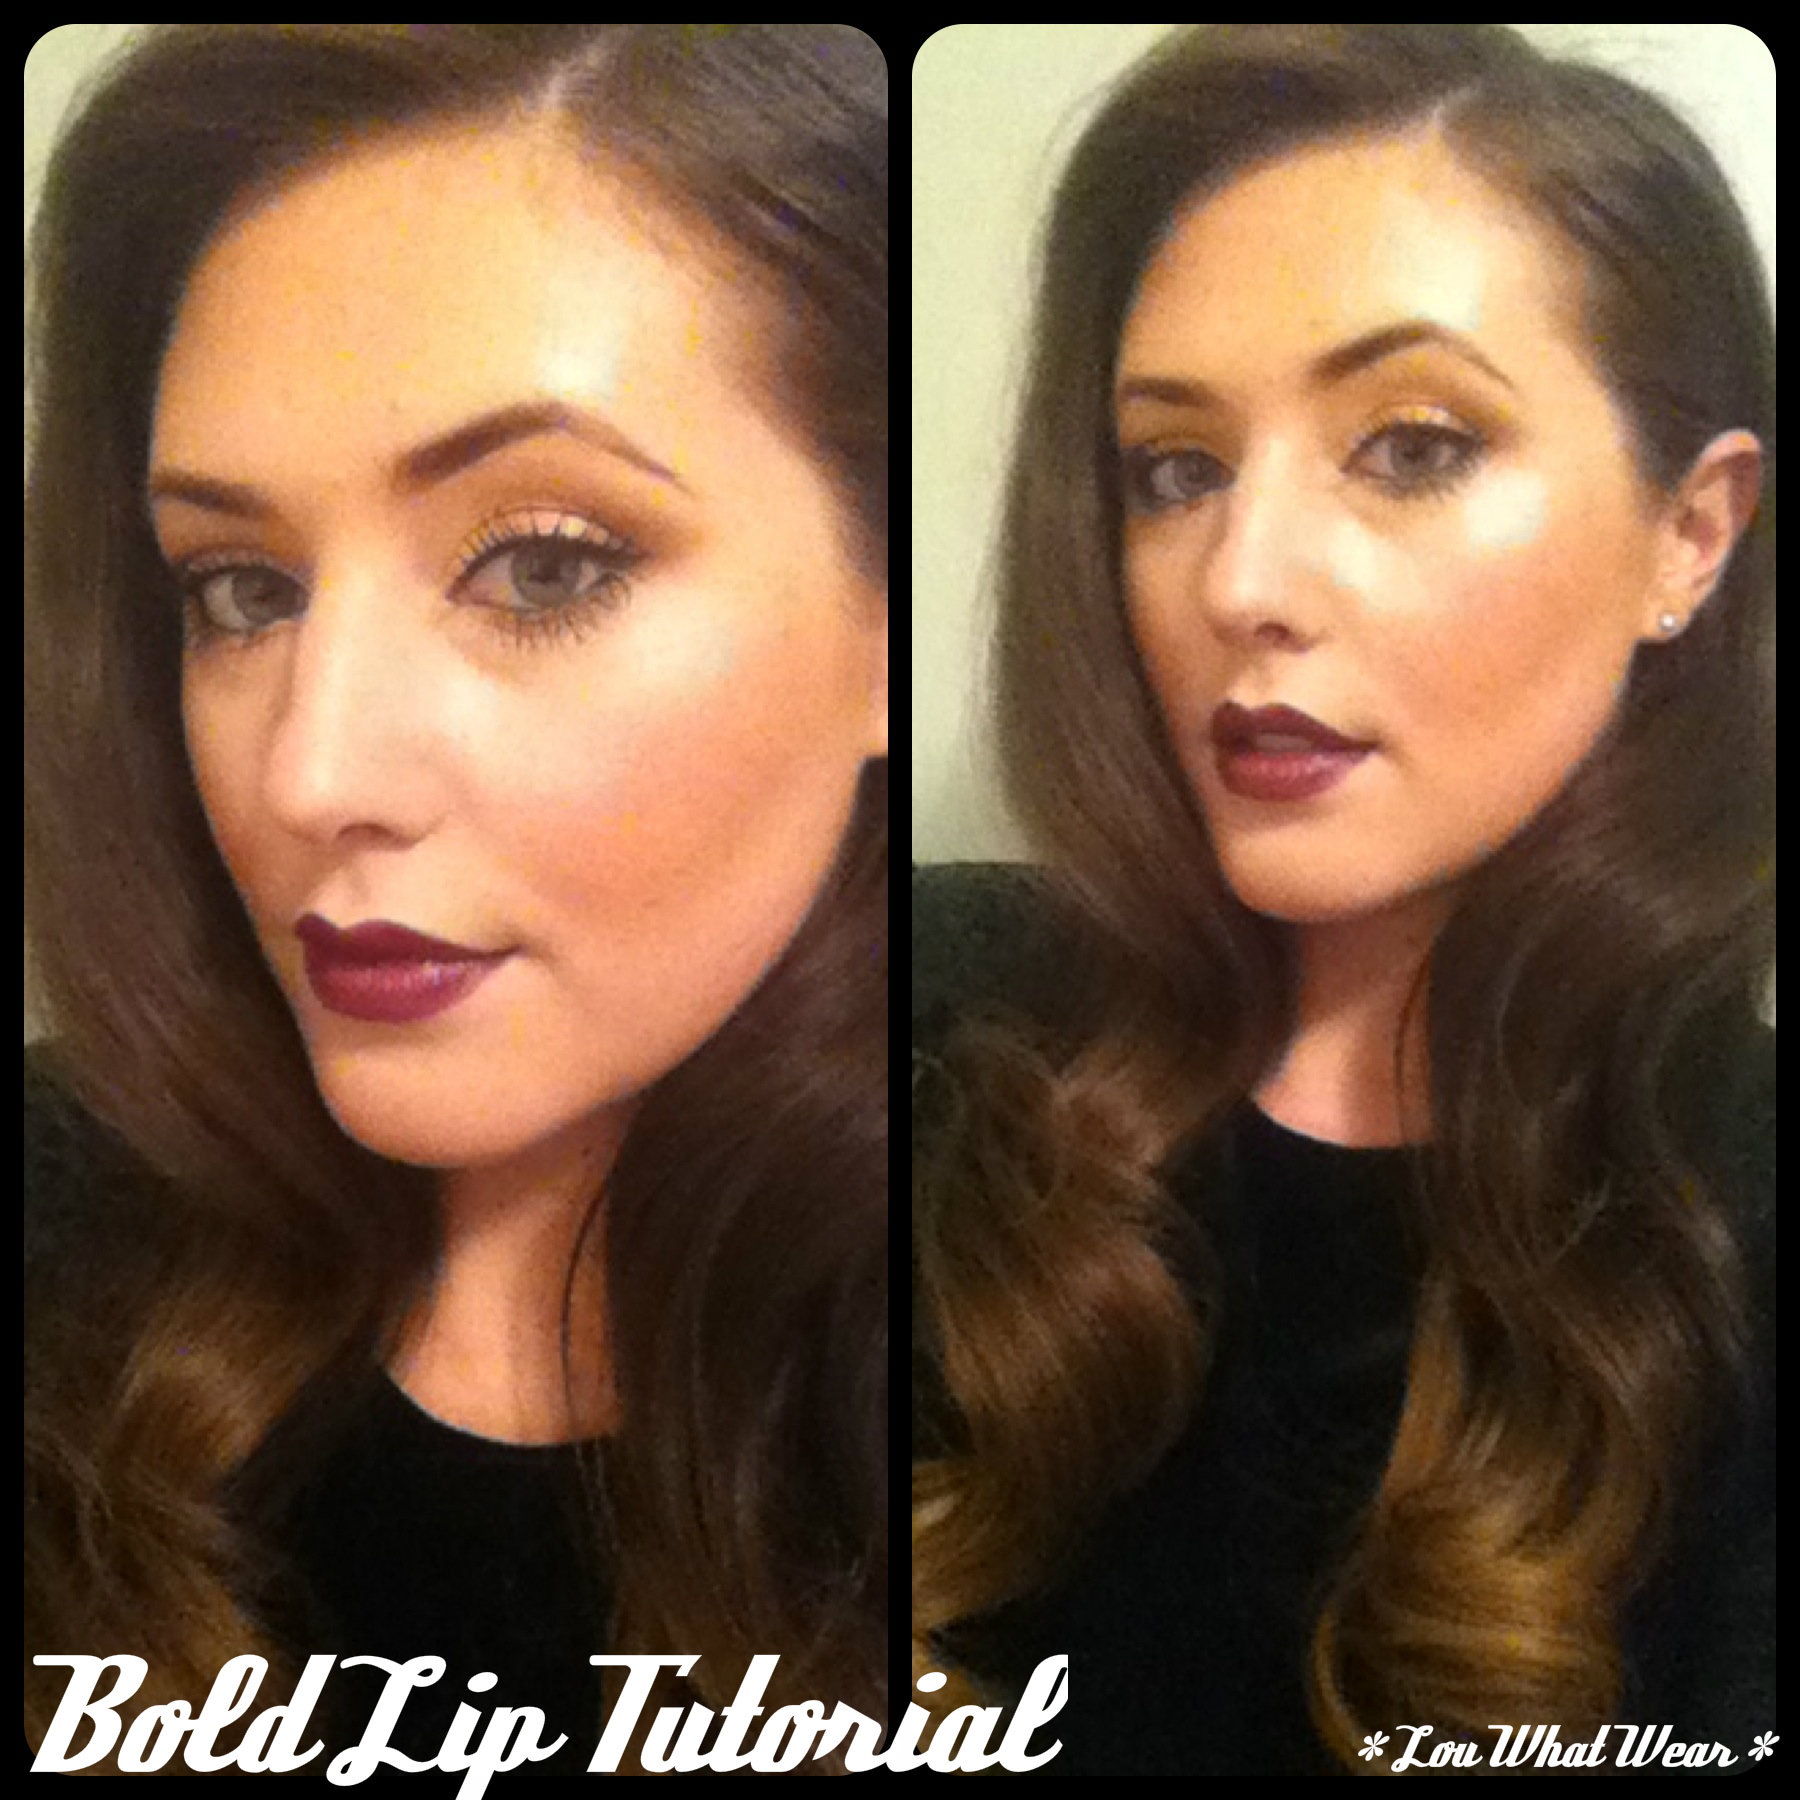
If you’re looking to take your New Year’s look to the next level, Lindsay’s here with a step-by-step tutorial on how to master the bold, dark lip that is everywhere these days. I can’t thank Lindsay enough for doing this and here’s hoping she sends one of these every once in a while to keep us up to date!
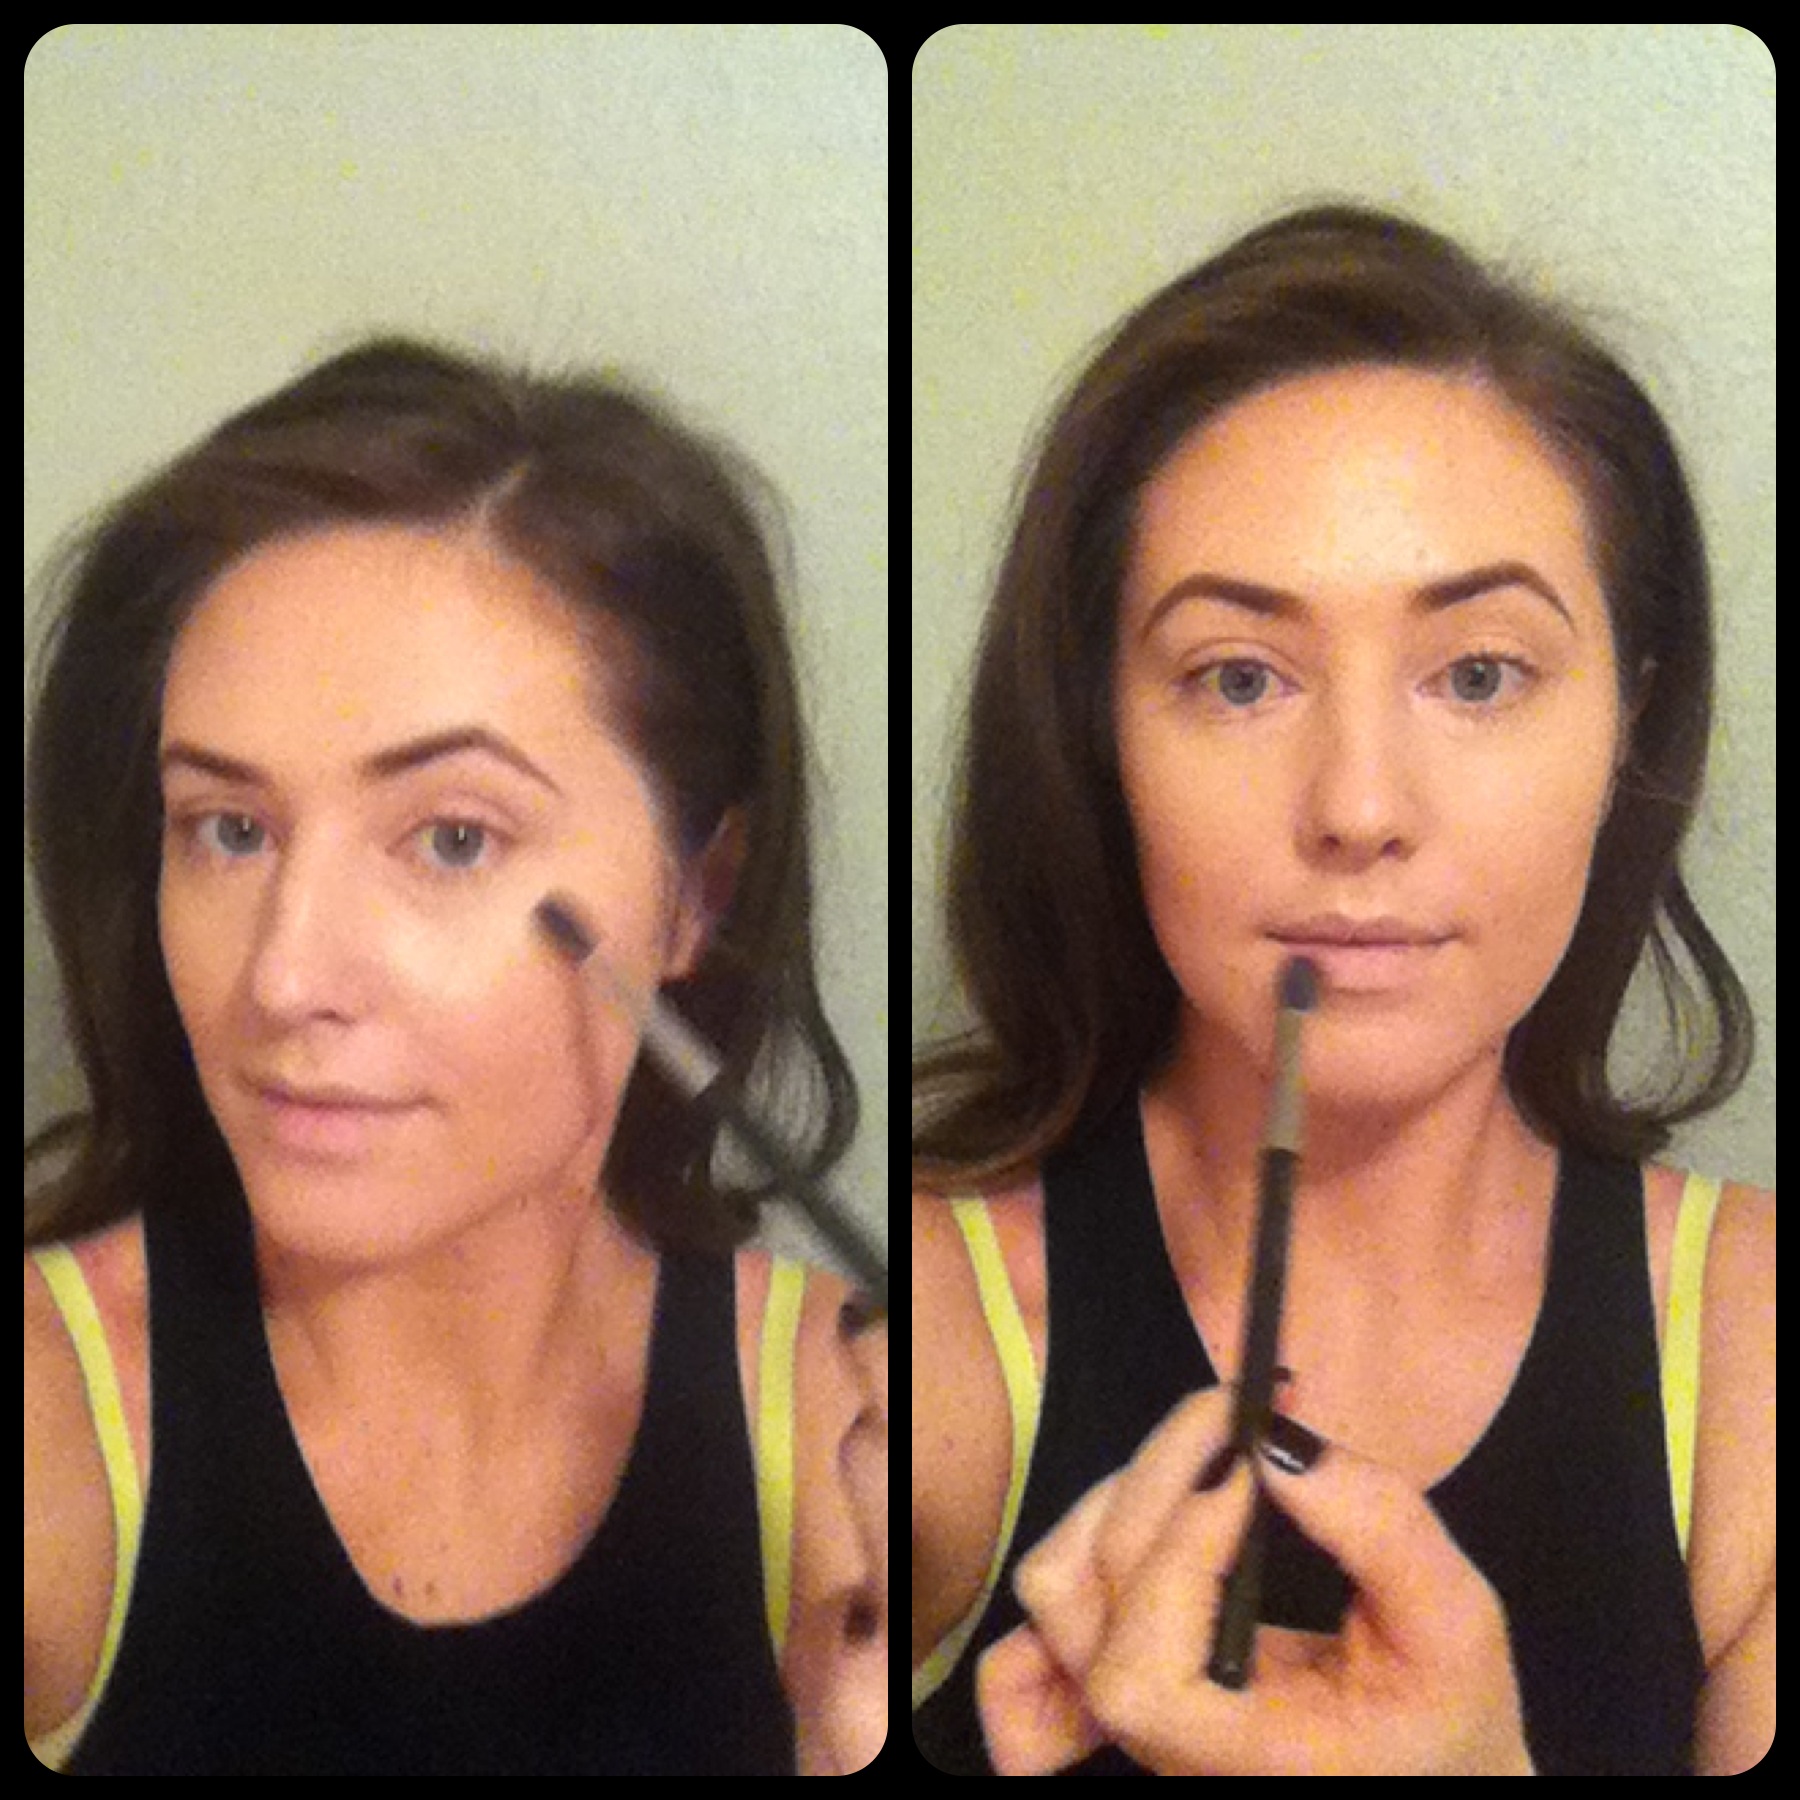
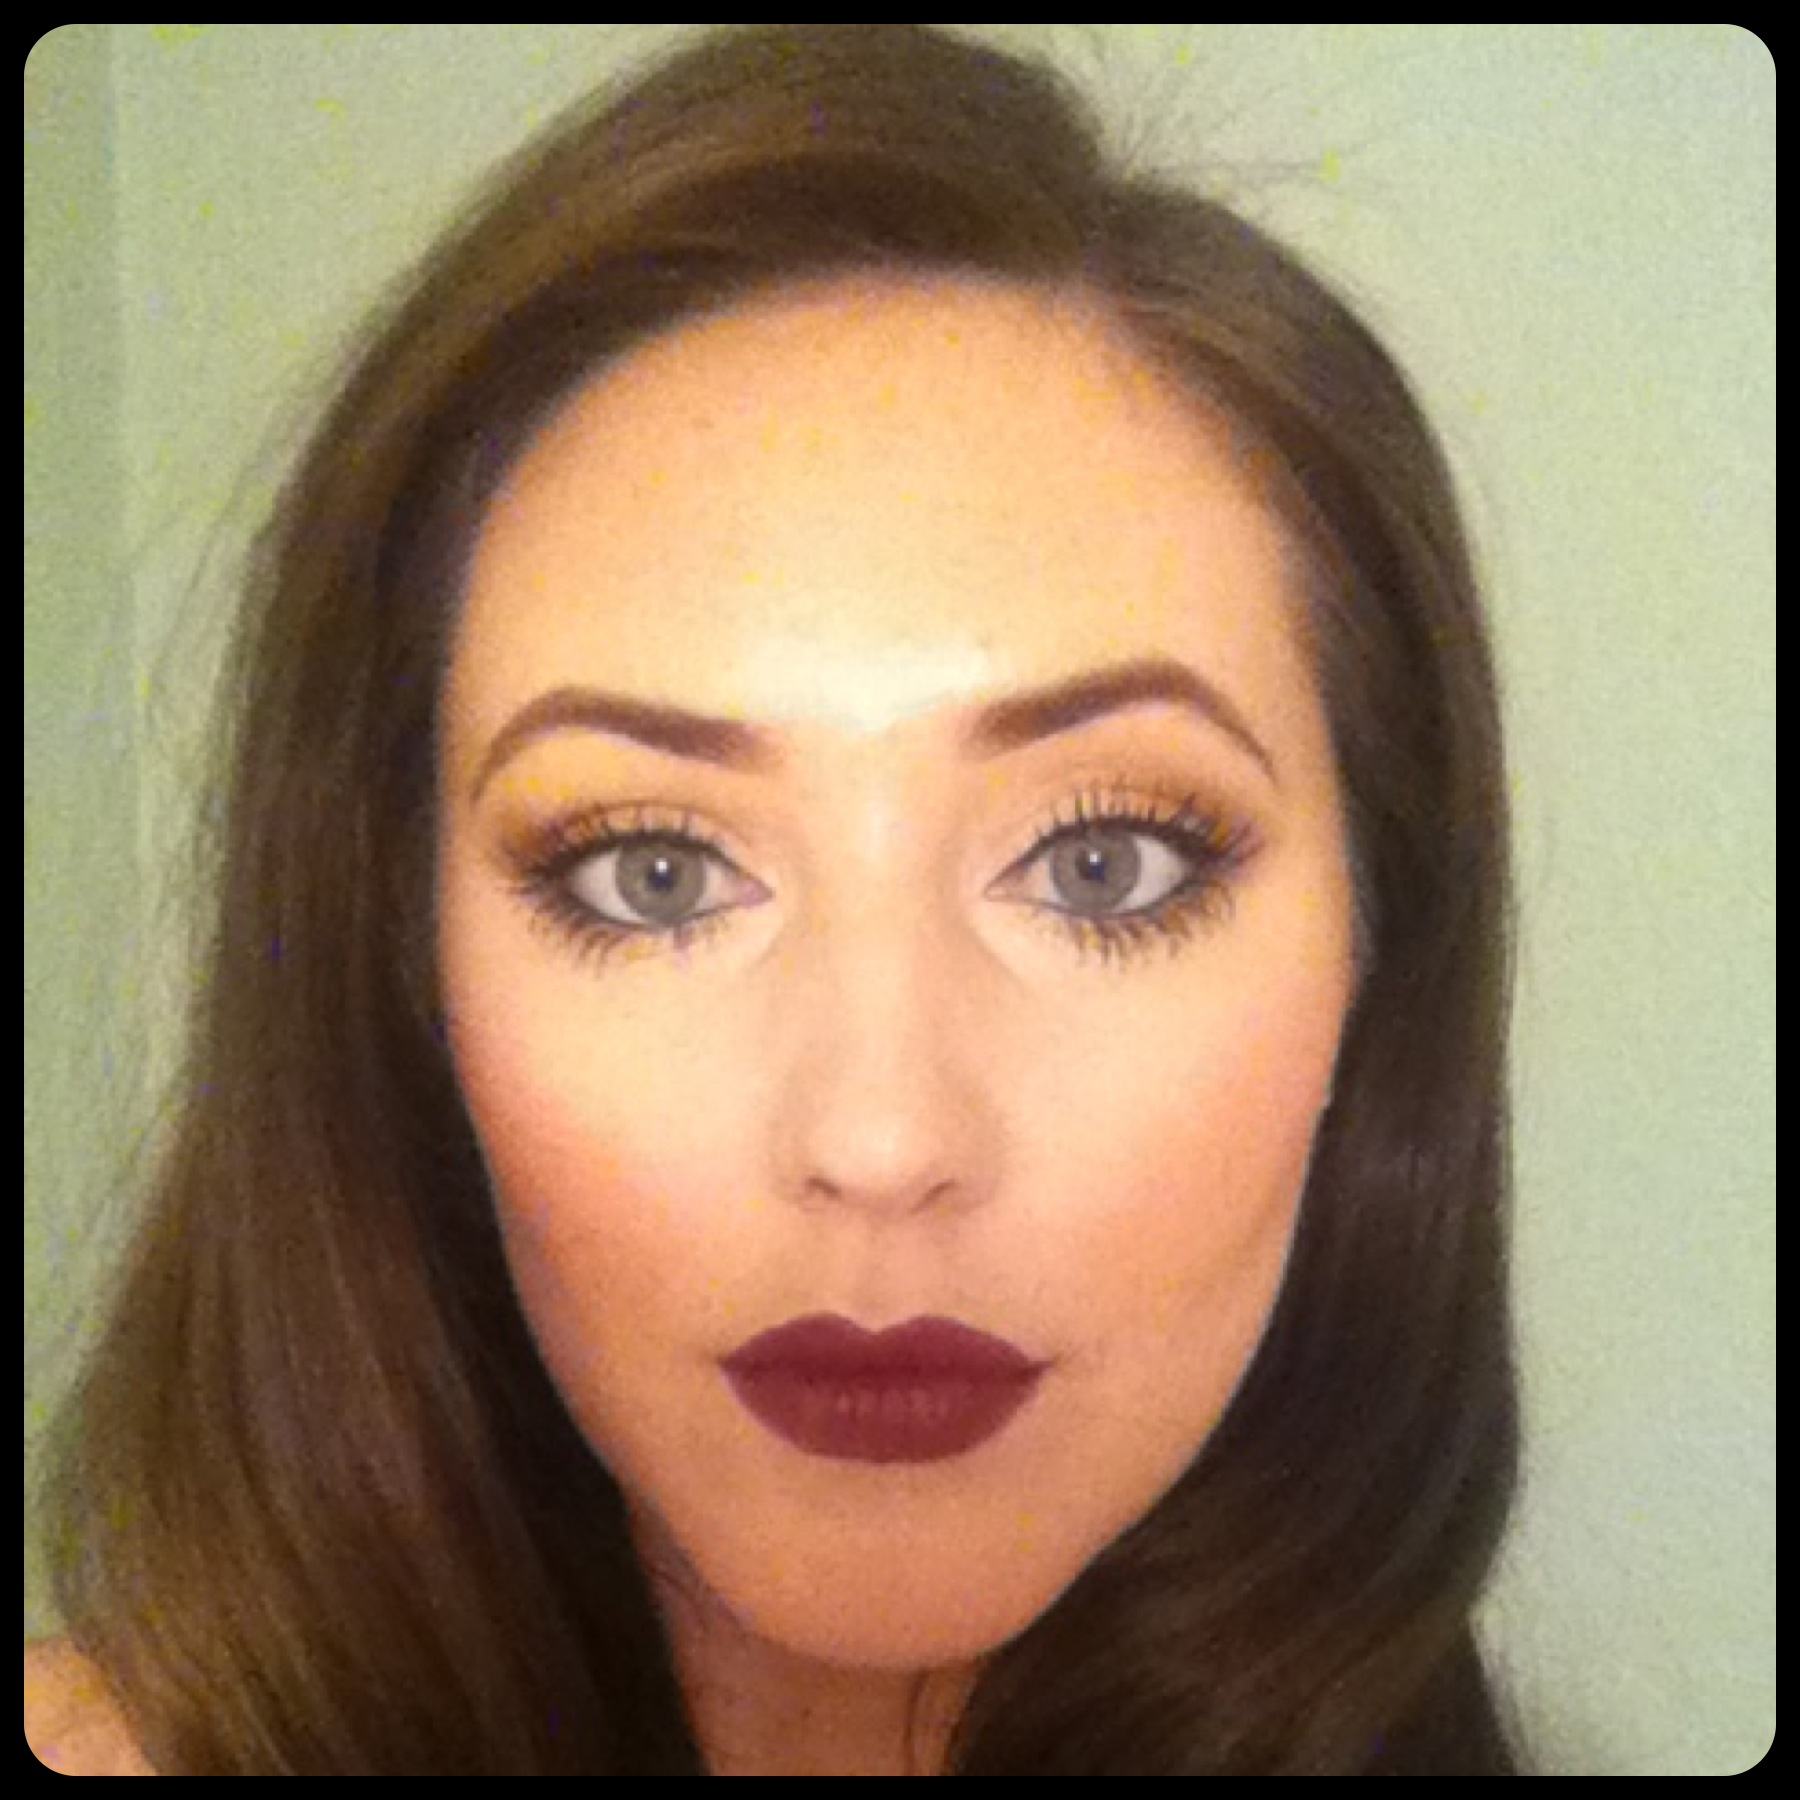
 Start by prepping your skin. Always make sure your skin is moisturized before applying makeup. I also like to use a skin primer to ensure my foundation goes on flawlessly. Apply your foundation and concealer. For this look focus on the under eye. Use a concealer a couple shades lighter then your natural skin tone. Use remainder of product on brush and apply to lips, this will help us later when defining our perfect bold lip.
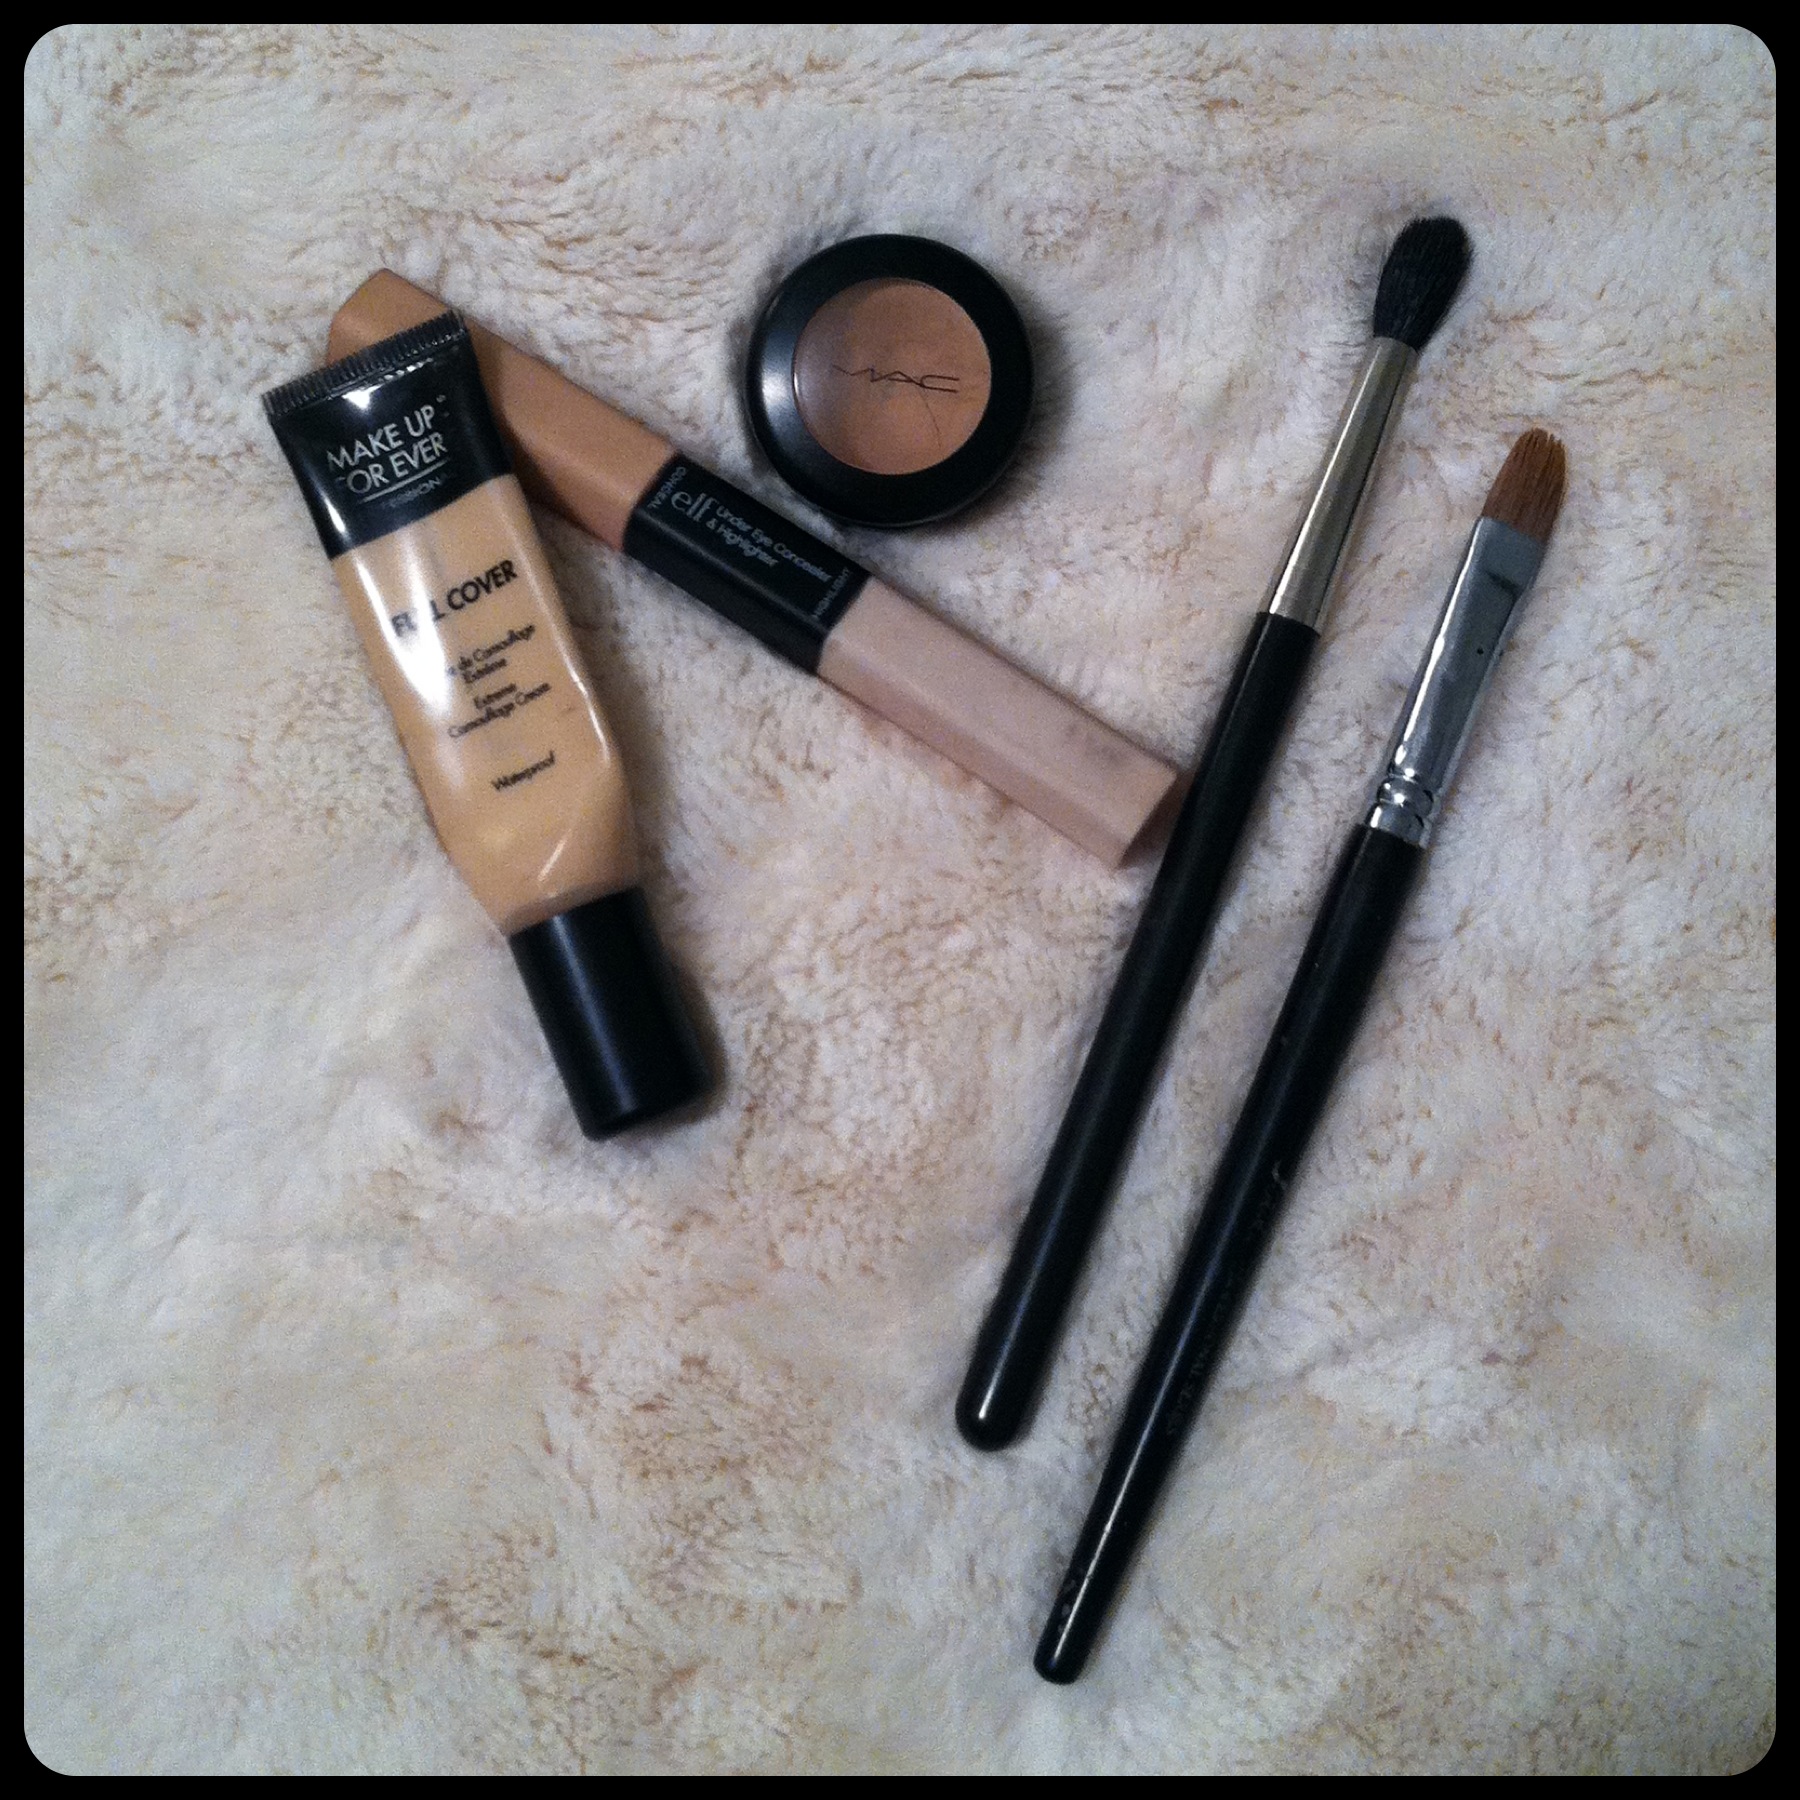
 Camilla’s eye is simple but glam nonetheless. Here are the products and tools I used to create this look: Gel liner, an angled eyeliner brush, mascara, white shadow, white metallic shadow, golden bronze metallic shadow, a grayish green shadow, a shadow brush, a tapered/contouring shadow brush and a smudging brush.
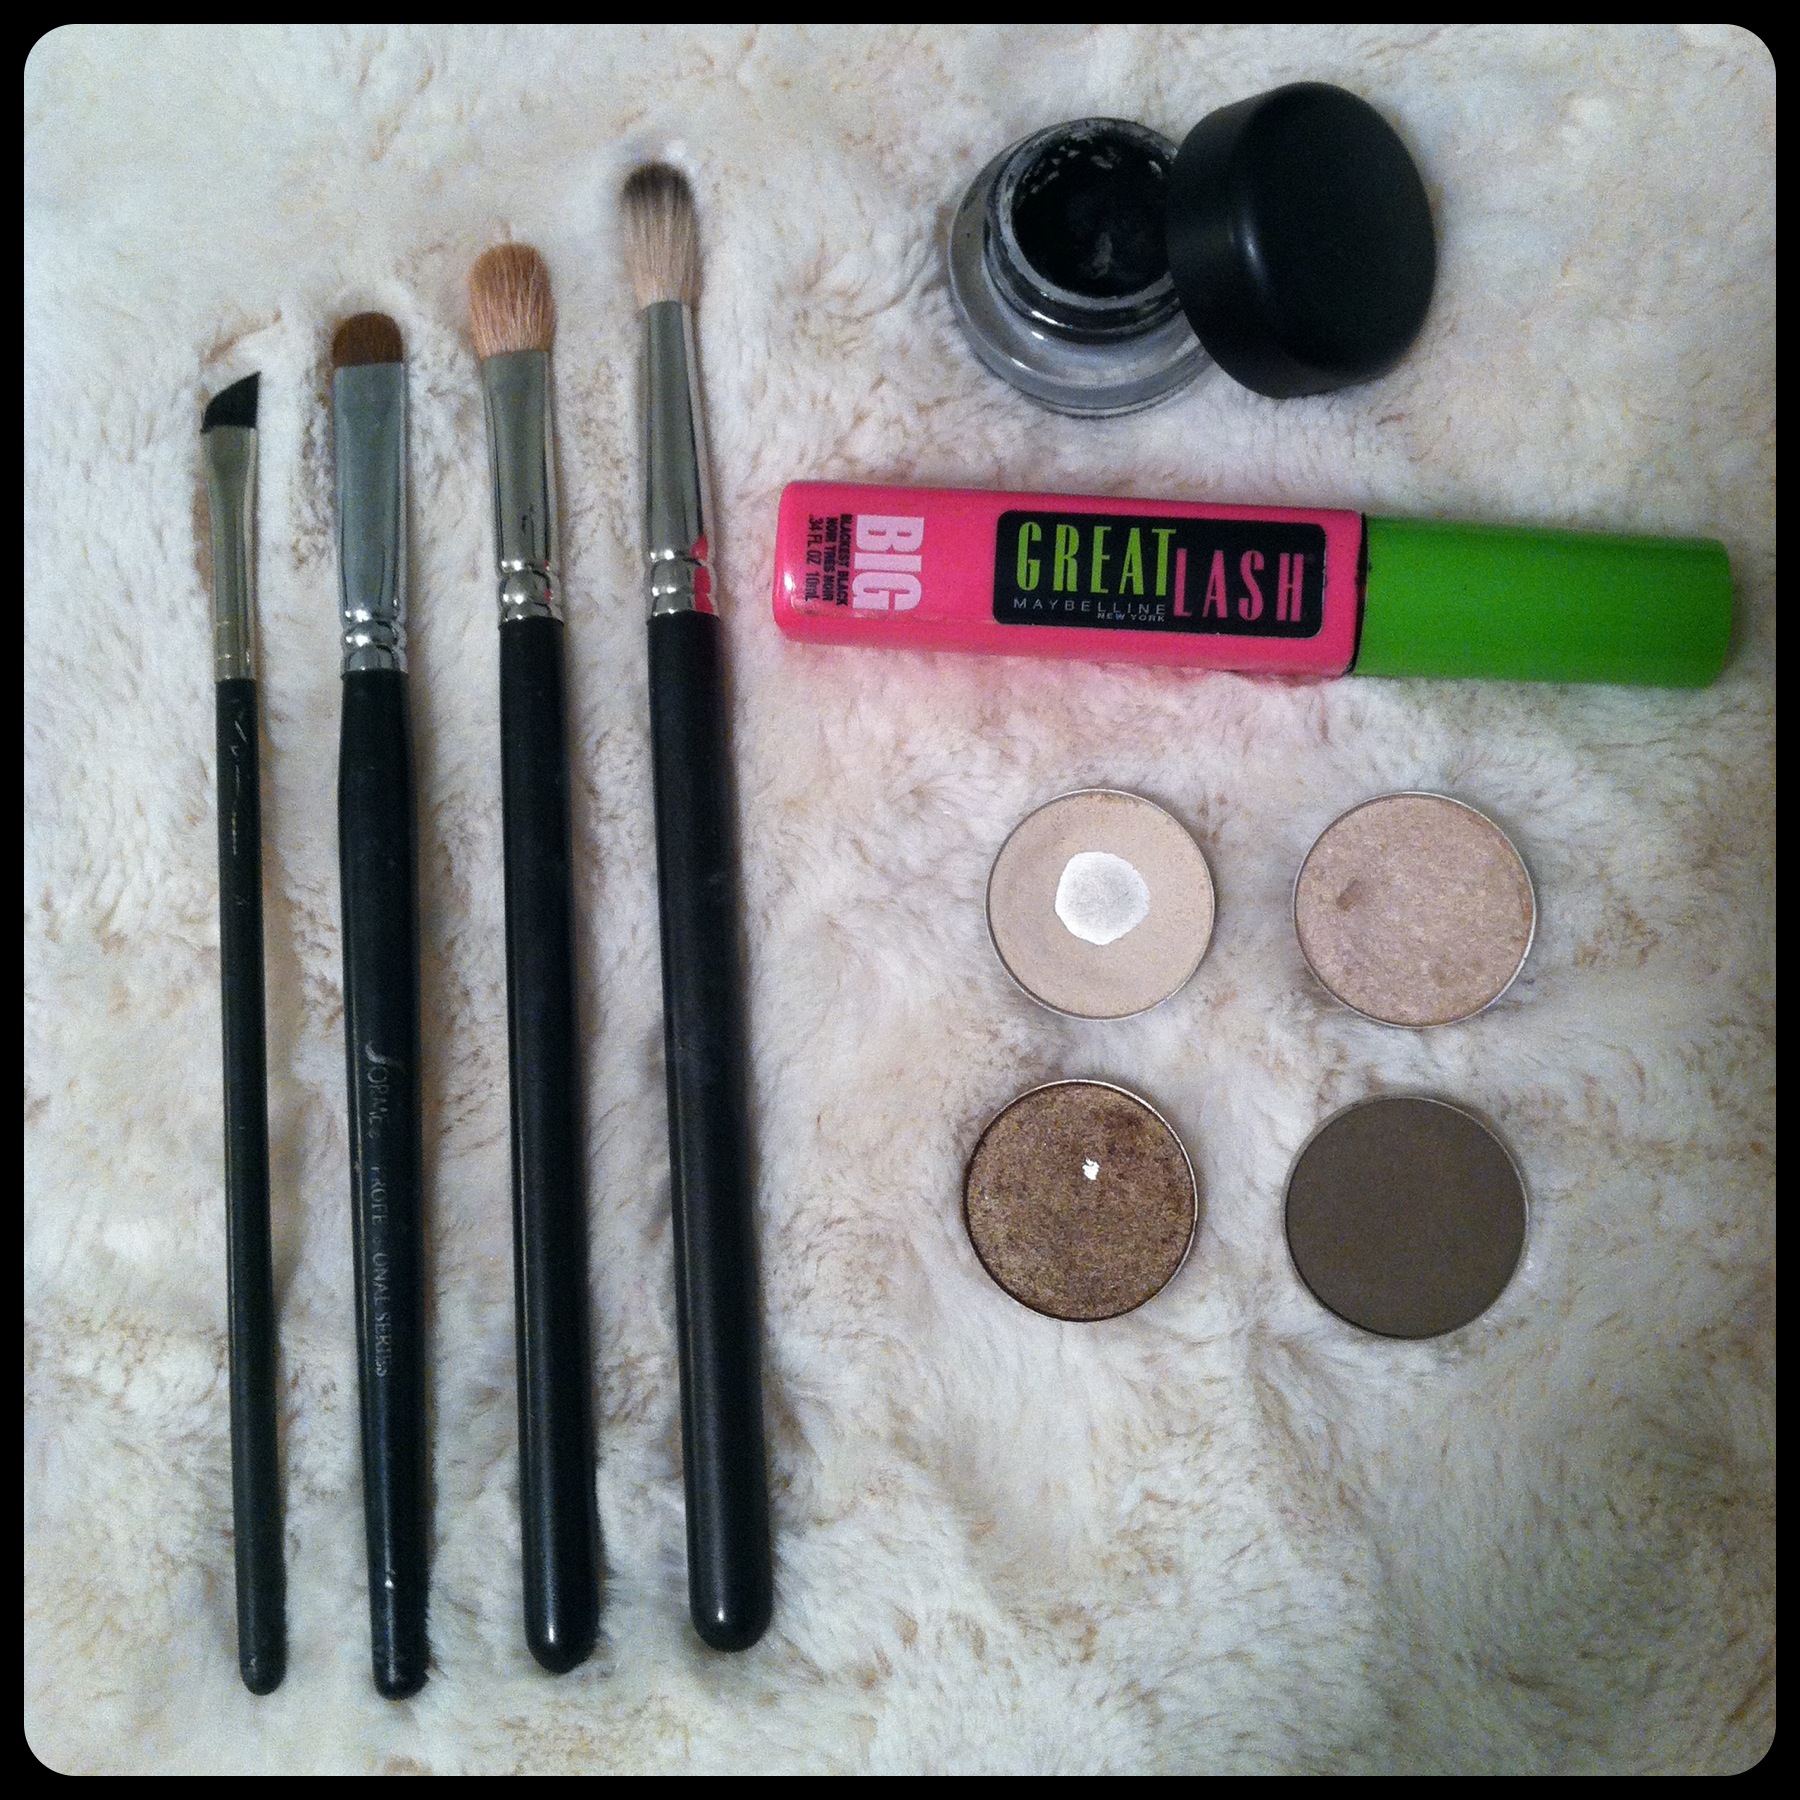 Start by dusting a white metallic shadow to the inner corners of the eyes. You can use the same shadow as a brow highlight! Next use a golden bronze metallic shadow starting from the outer corner and working your way inward, a little more than half way. Blend the same shadow under the bottom lash line.
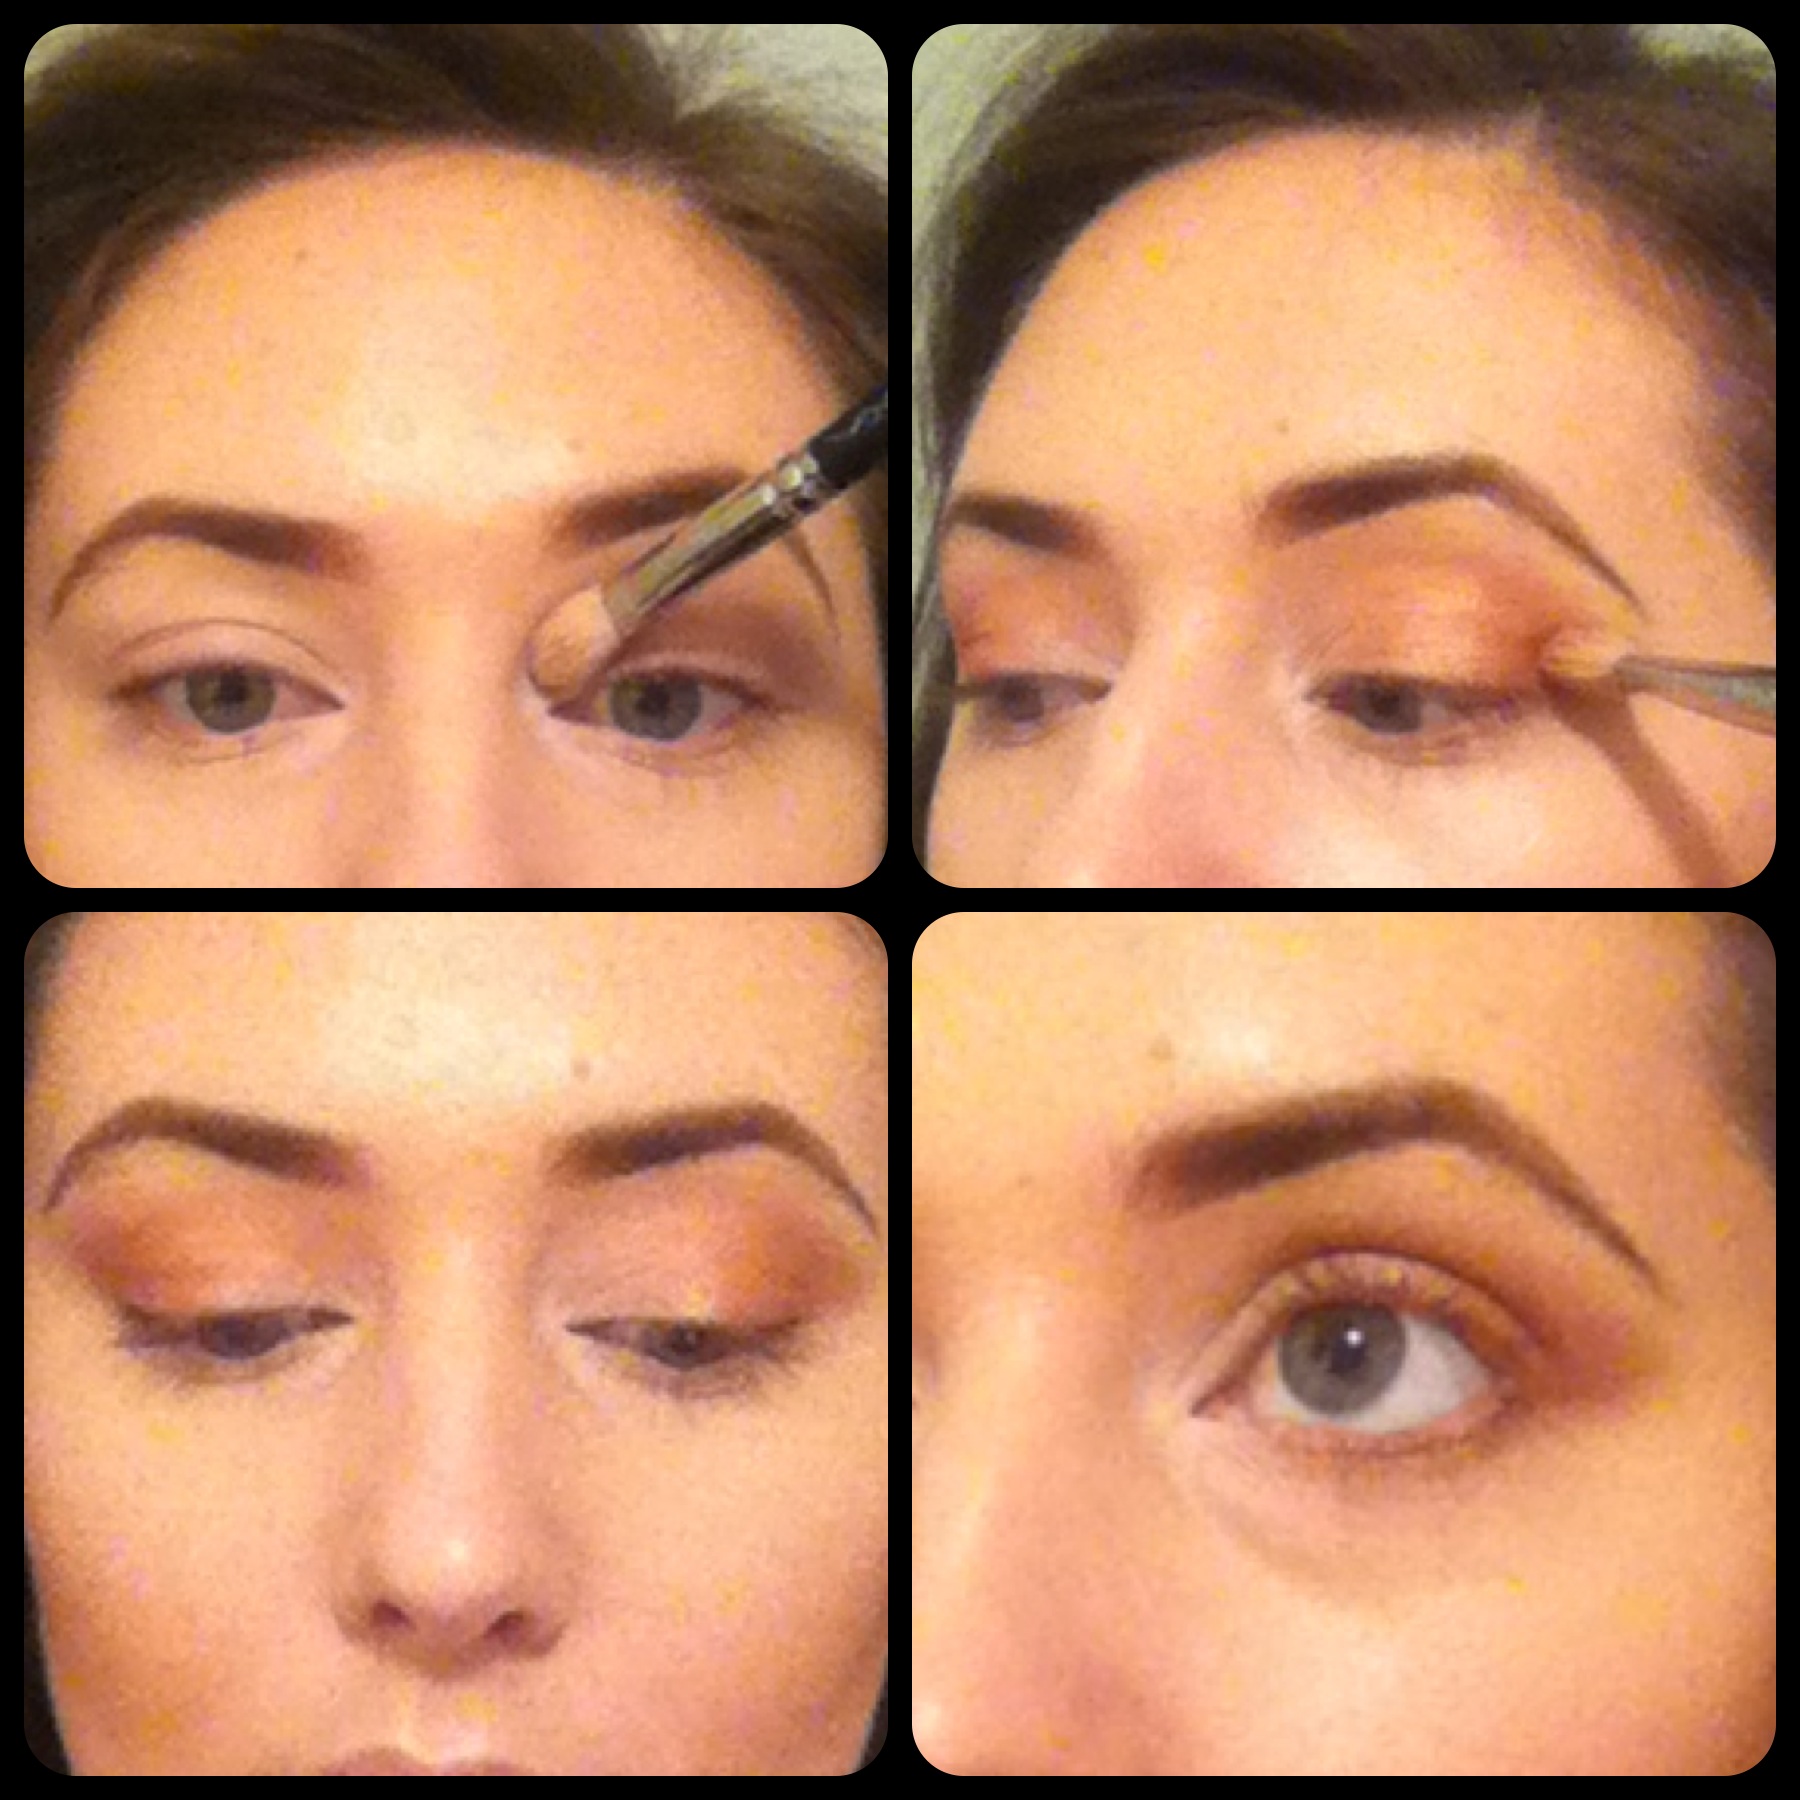 Next use your gel liner to create a subtle cat eye. Start by lining the upper and lower waterline. Next tightly line your upper lash line, carrying the liner slightly up and out to create your cat eye.
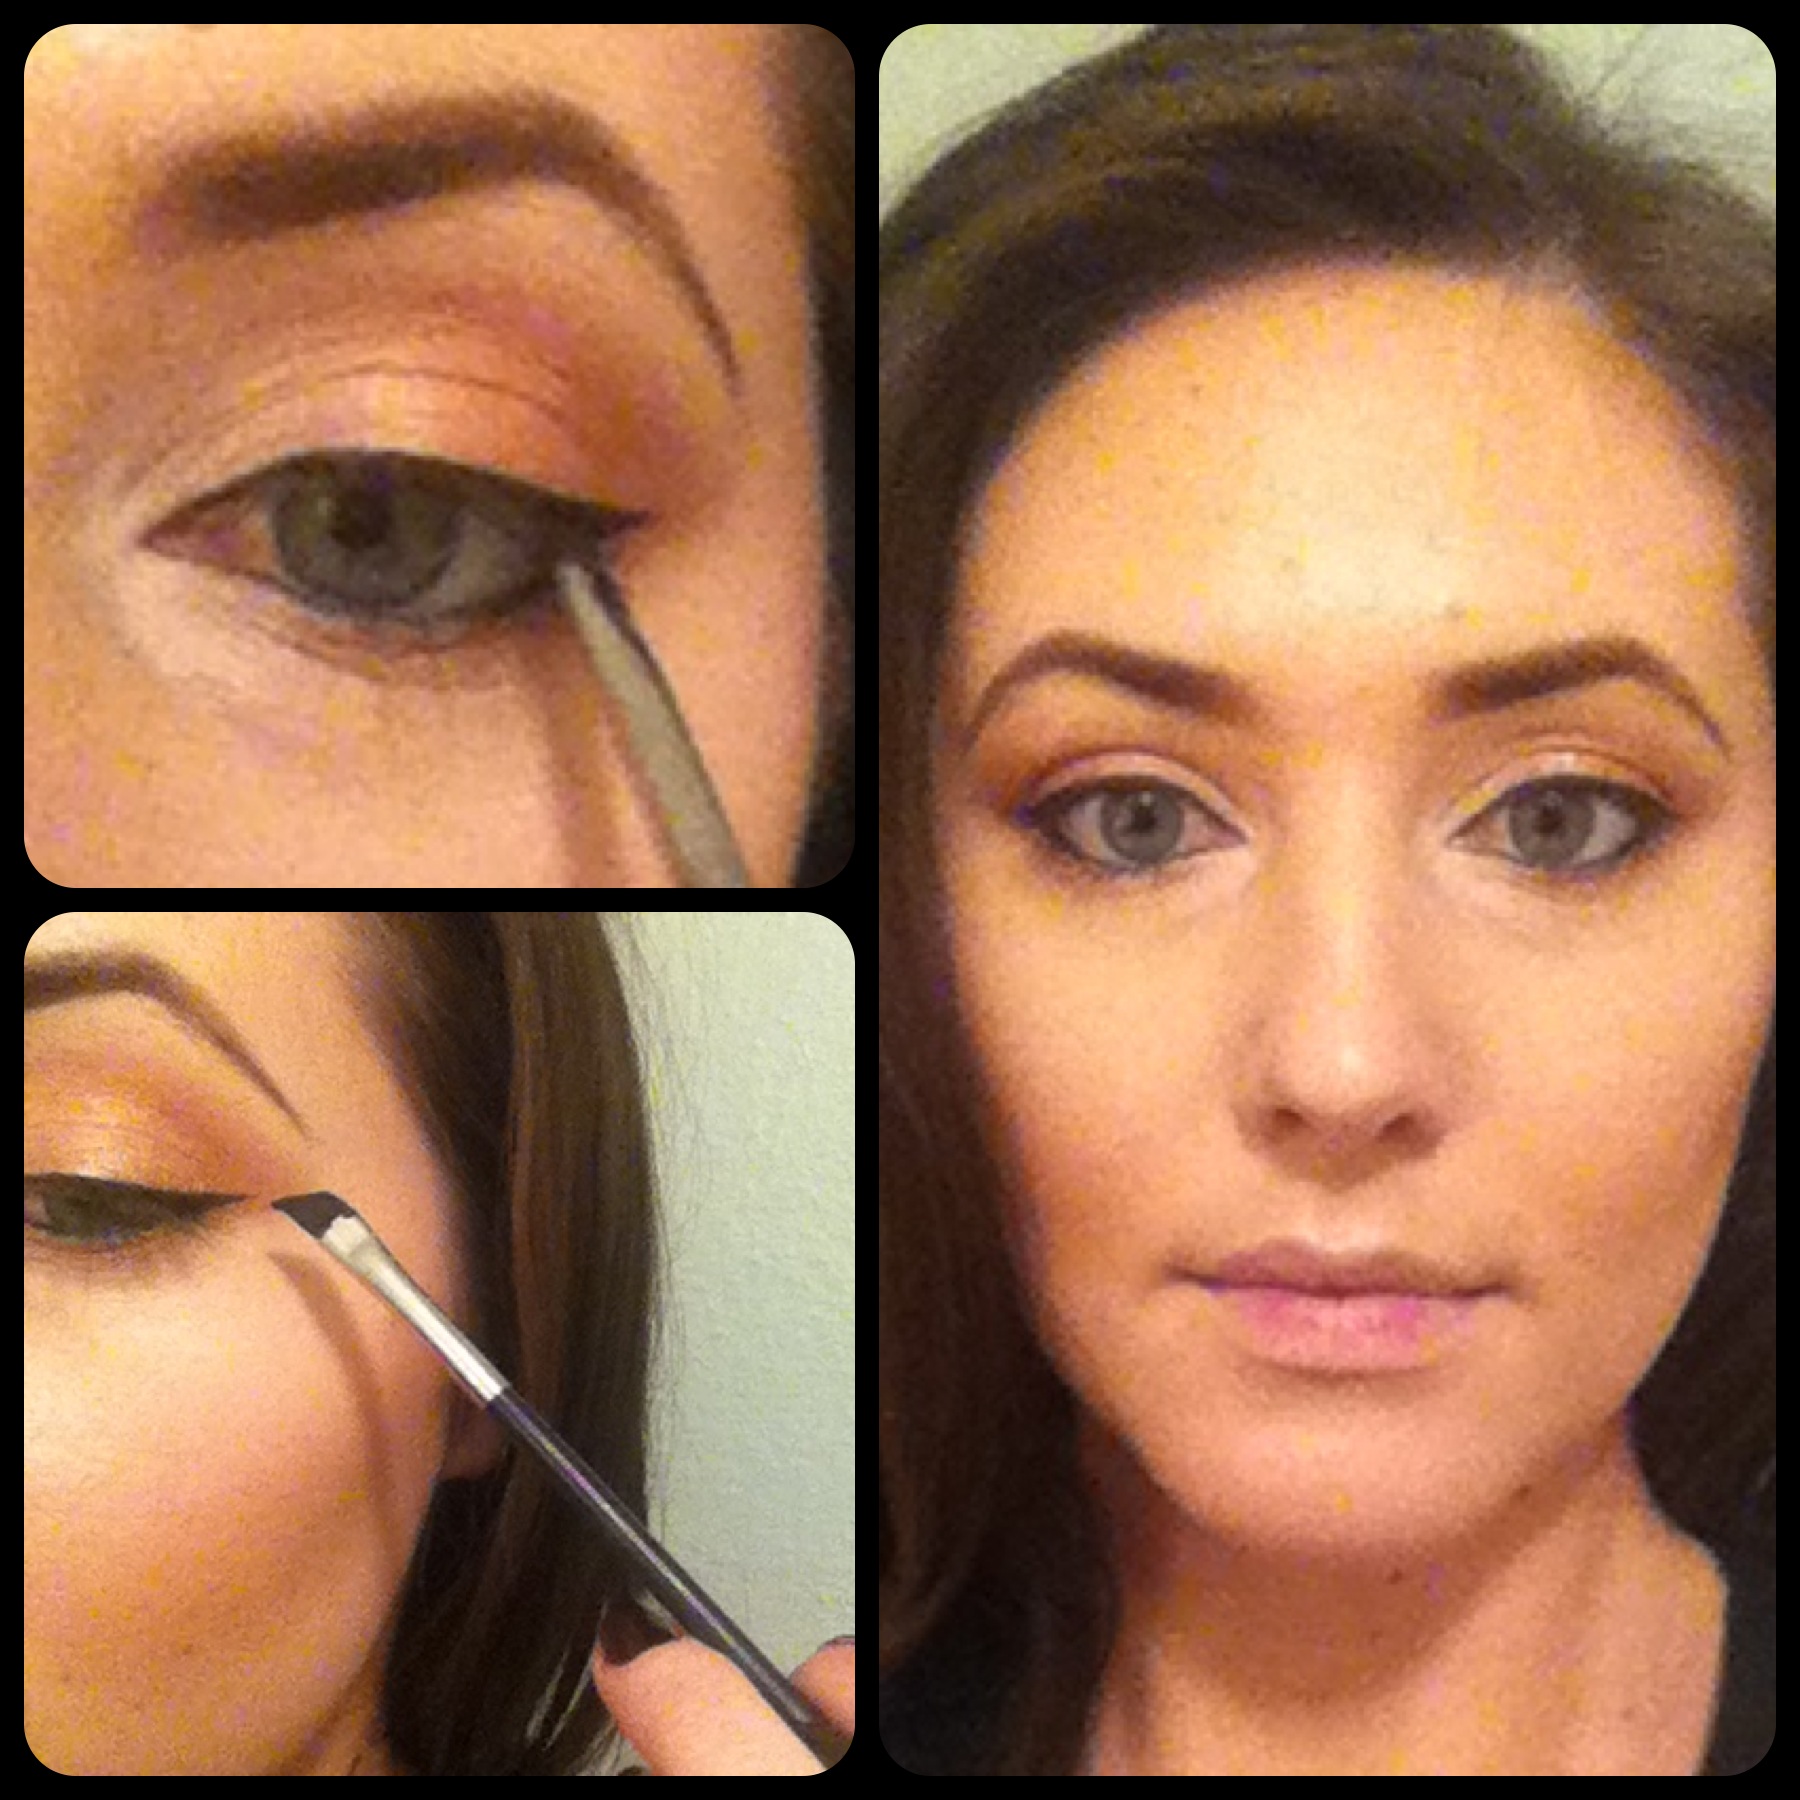 Before I added a good helping of mascara I decided to add a bit of my grey shadow to add a little dimension. Use your tapered shadow brush and work shadow onto outer corners and slightly into the crease. Smudge under lower lash line and carry inward less then halfway. Its time for mascara (my favorite part!) Be generous and don’t forget to curl those lashes!
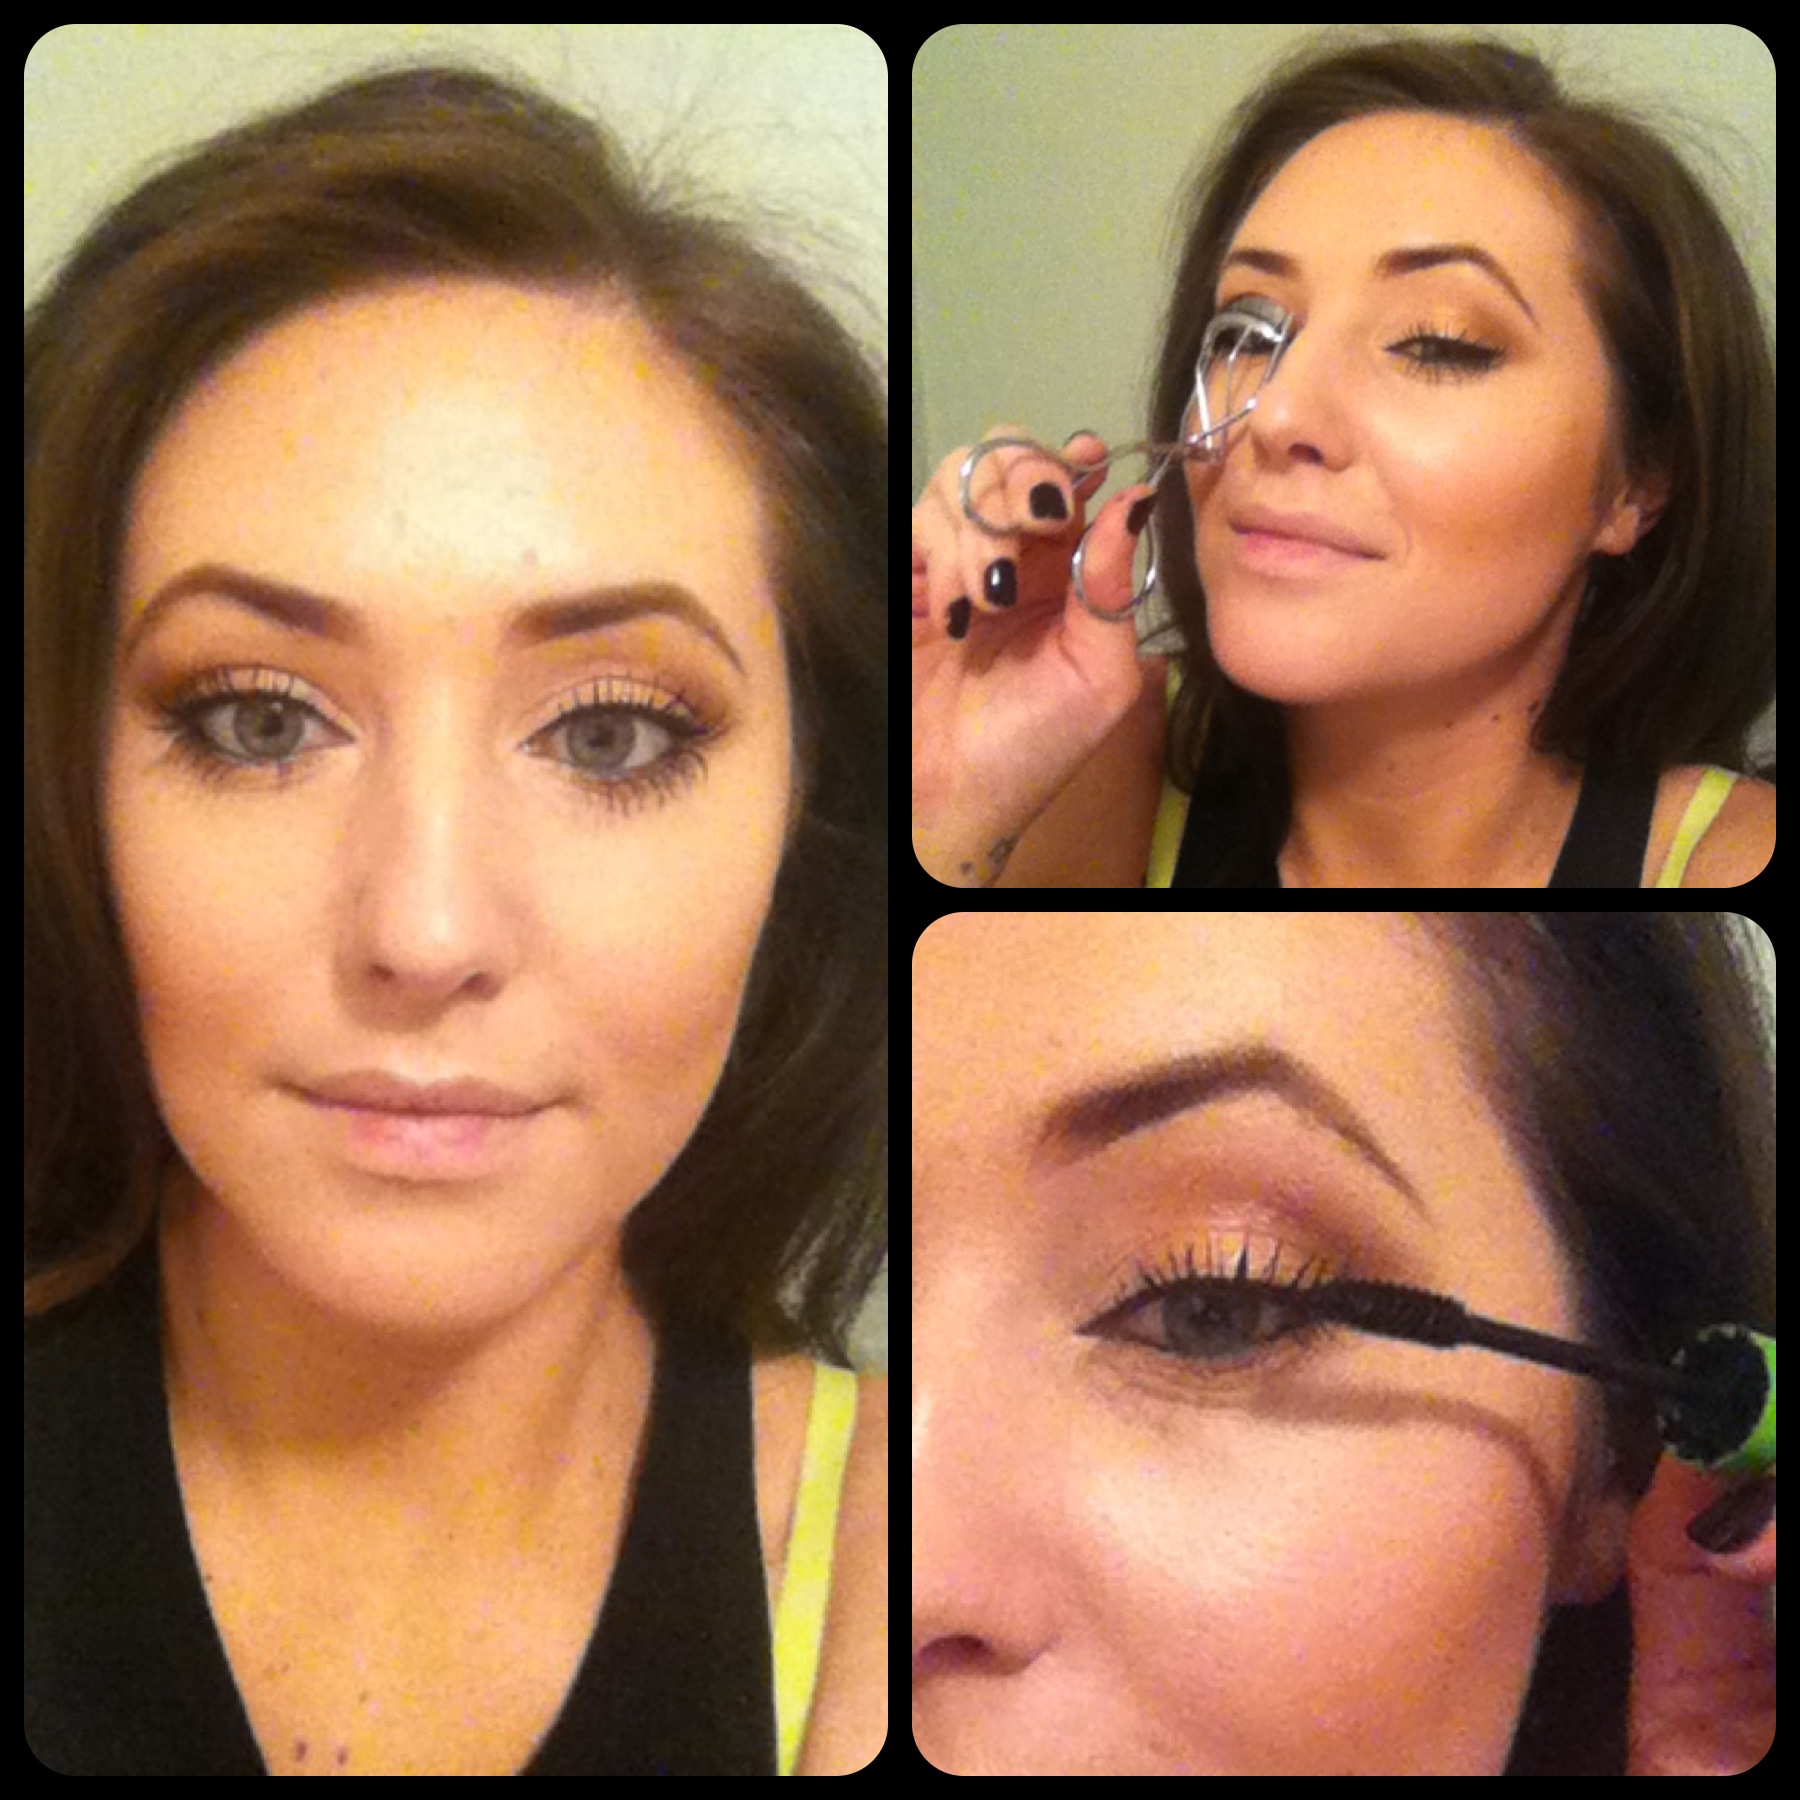
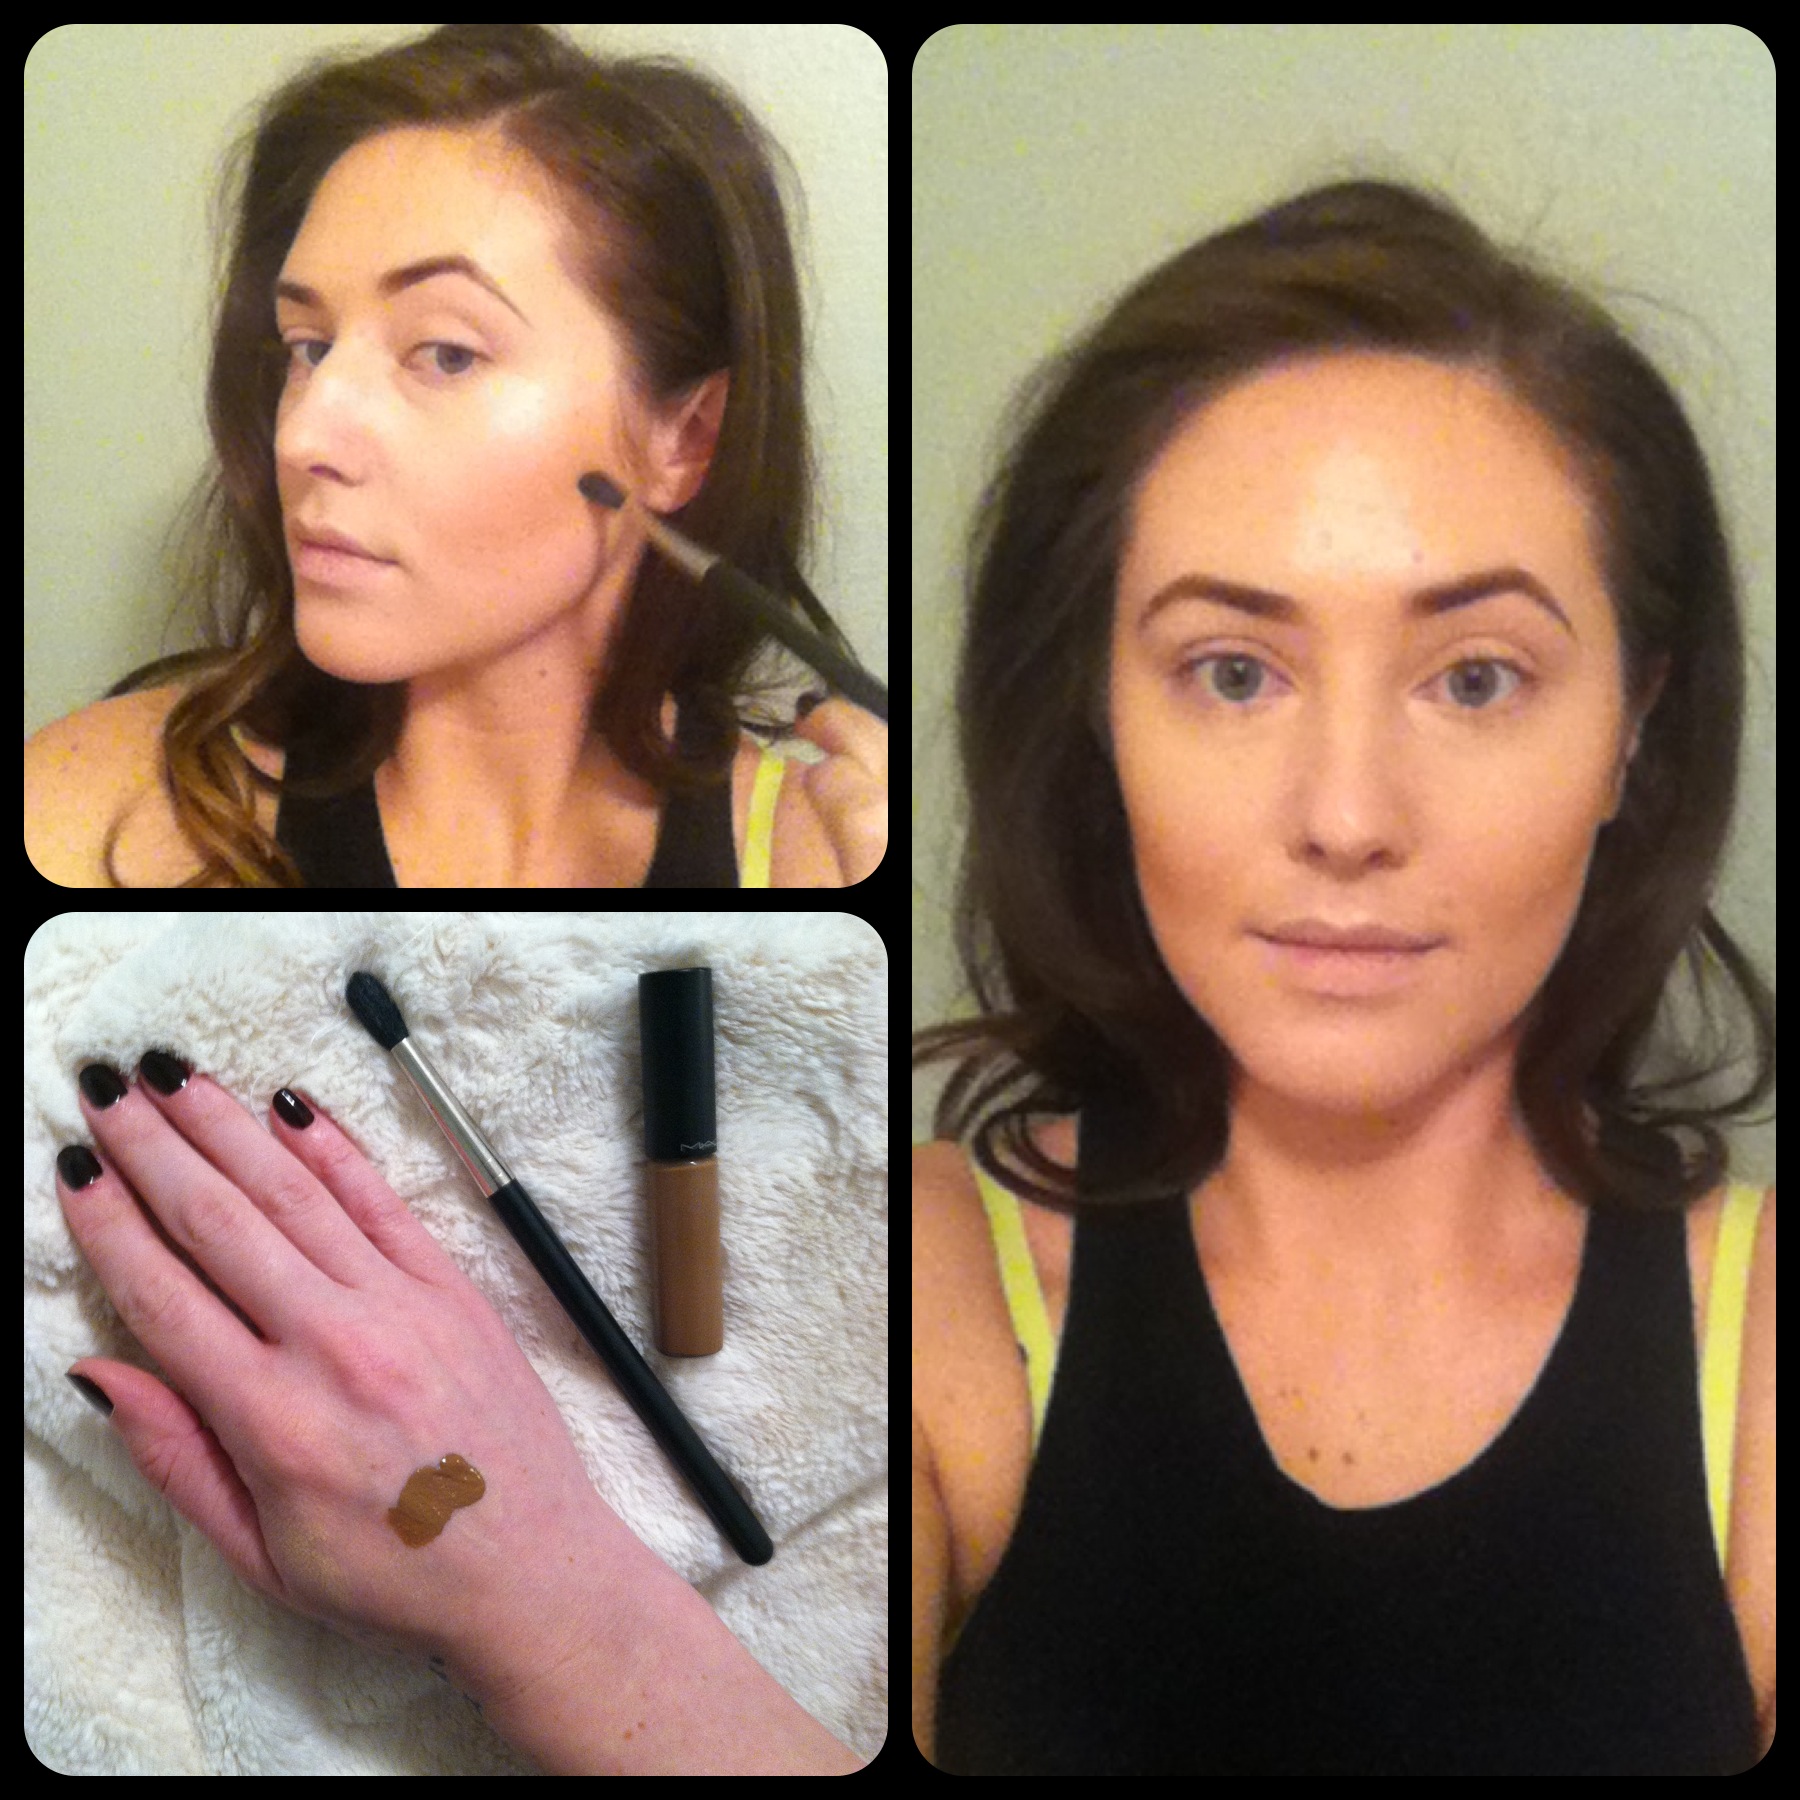
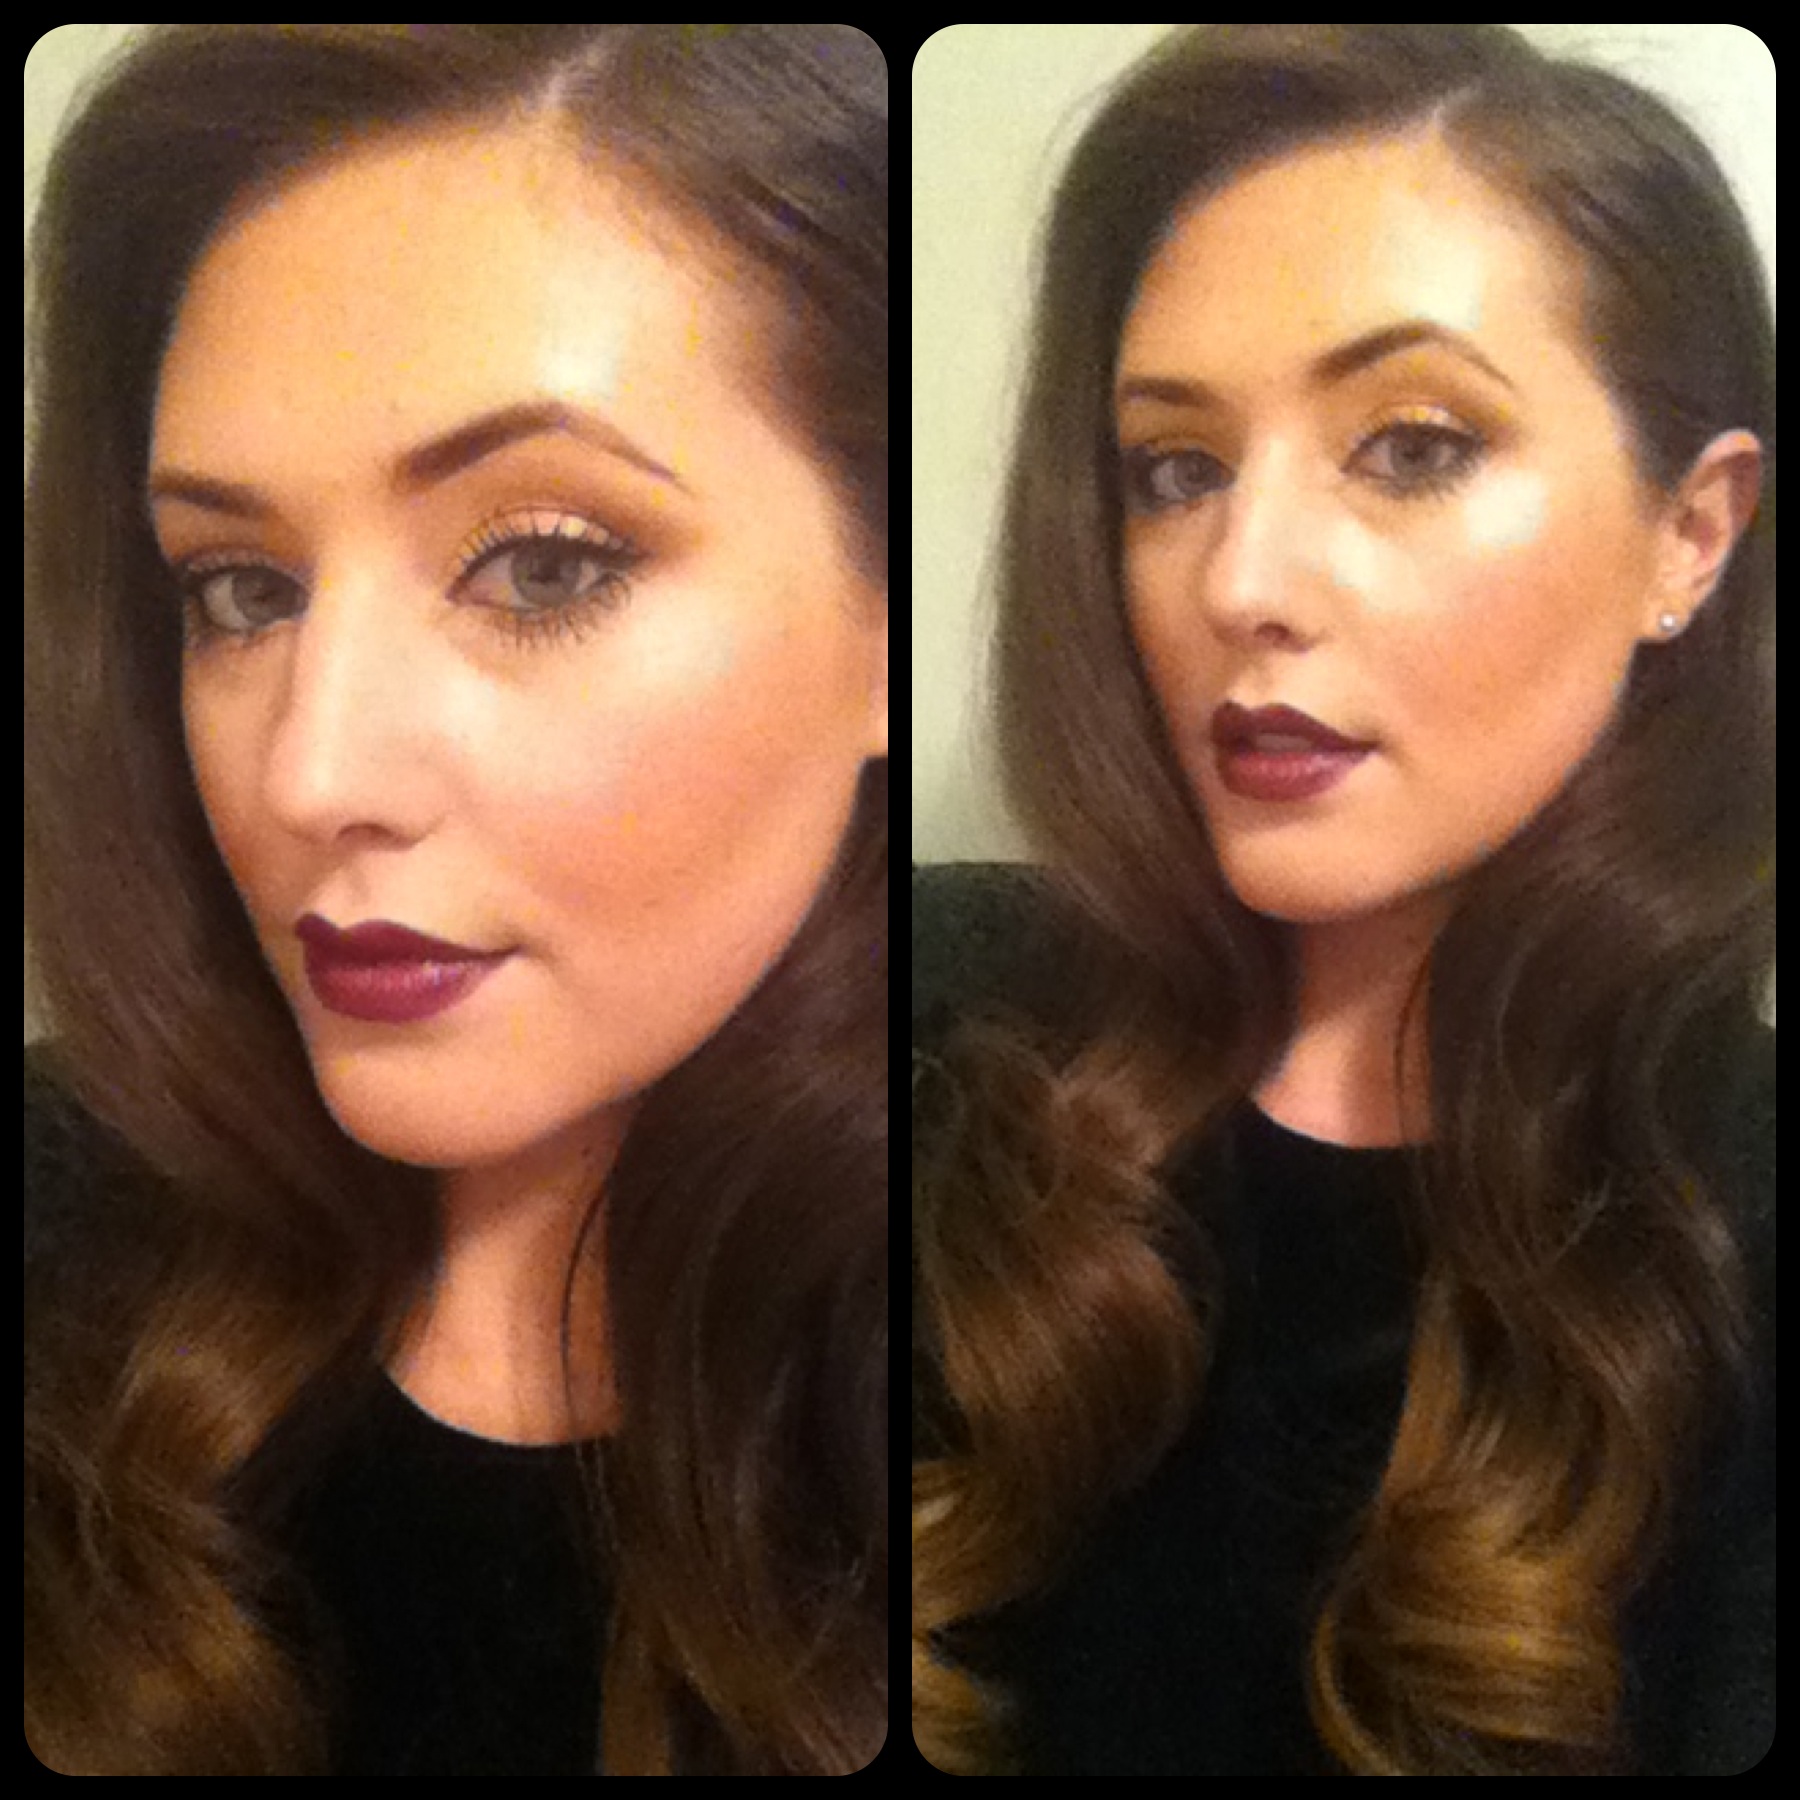
 Last but certainly not least, those perfectly sweet and rosy cheeks that Ms. Bell is flaunting. For this I combined three colors (which you do not have to do!) to create the perfect shade, all of which are metallics. One shade is a little darker than I would typically wear when sporting my natural, pale skin tone, but works perfectly for this old Hollywood look. Apply a light dusting onto apples of cheeks. Use a highlighter and dust a little over cheeks, bridge of nose, forehead and chin.

 All images by Lindsey Morr. Want to hire Lindsey? Email her here.
+ view comments