Any one who knows me (or for that matter any one who’s seen a picture of me) knows that I am not the best when it comes to hair styling. So you’re probably thinking, “Why the H are you posting a hair tutorial?” Well thankfully for you (and me whenever she’s in town), my friend Maggie is all-pro when it comes to hair styling.
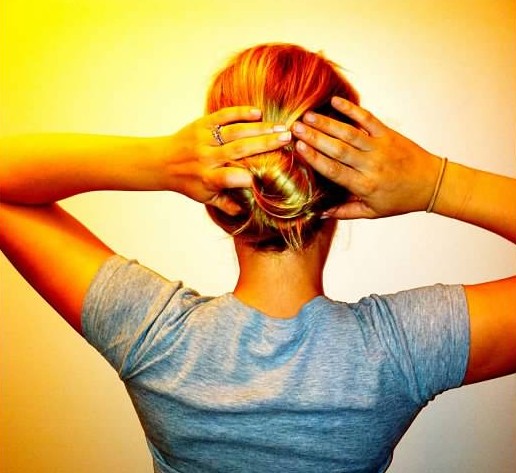
So I thought it would be fun to start doing some how-to posts every once and a while. For the first (of hopefully many) tutorials, Maggie has decided to share the steps in mastering the topsy turvy bun. When you hear topsy-turvy you probably think of those 90’s infomercials for the hair gadget. While the style borrows it’s name from the 90’s favorite, there’s no telephone order required and you won’t look like a Saved by the Bell extra.
1. I find it is best to begin with curled hair that has had some product added to it for texture.
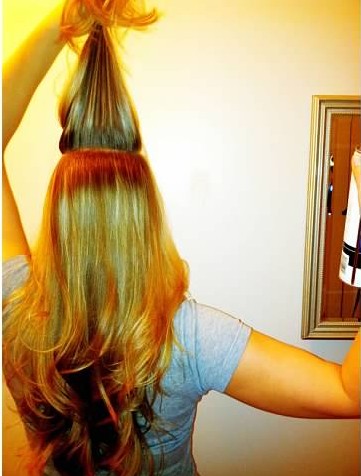
If it’s curled first, your stray ends will look nicer and not stick straight out.2. Separate the top half of your hair and spray hairspray at the root.
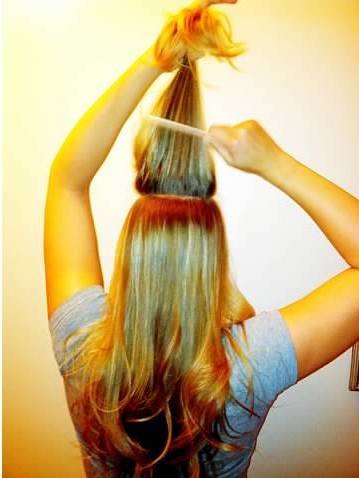
3. Use a comb and tease hair as much or as little as you like, depending on how big you like your hair.
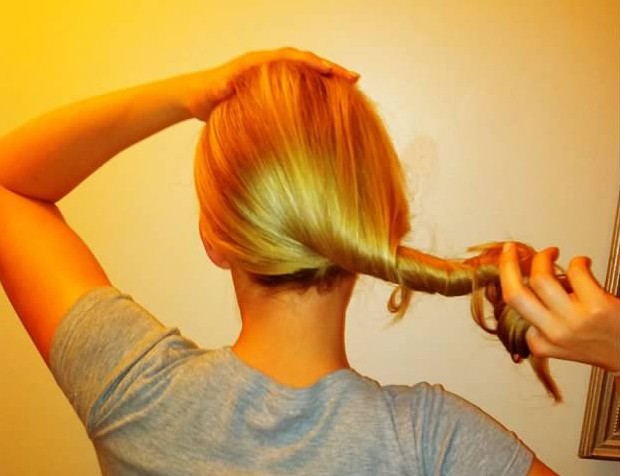
4. Twist hair and pull to one side.
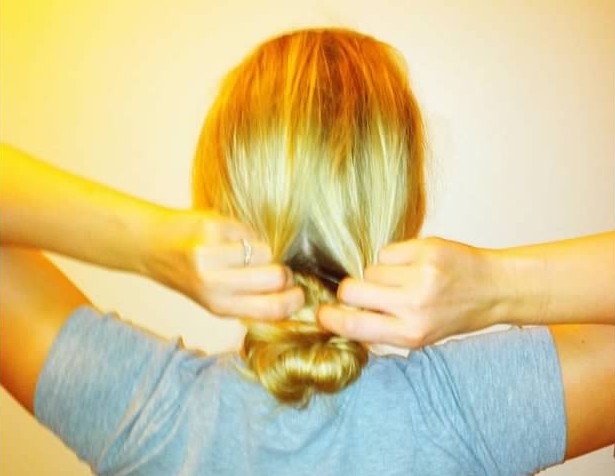
5. Wrap hair around in a coiled bun.
6. Add rubber-band to outside of bun.
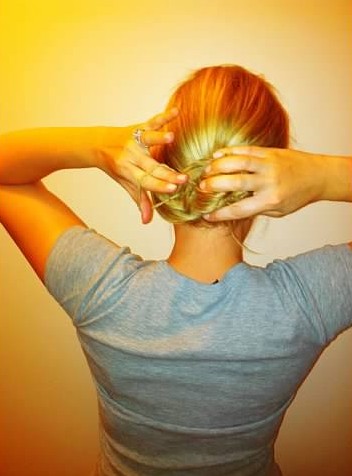
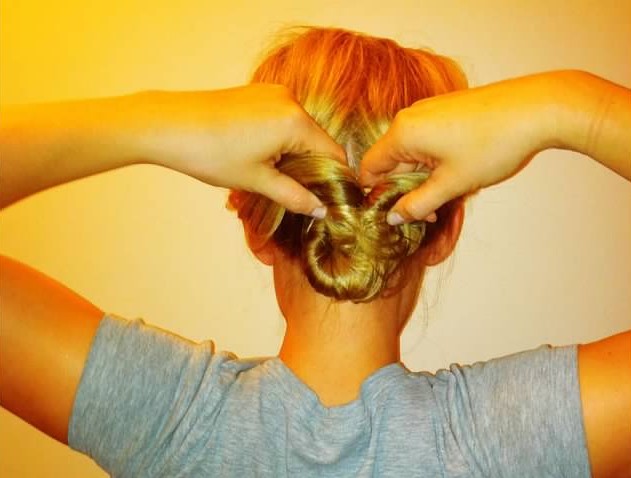
7. Separate hair with fingers to create a hole above the bun and loosen hair.
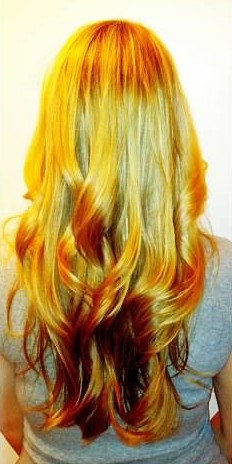
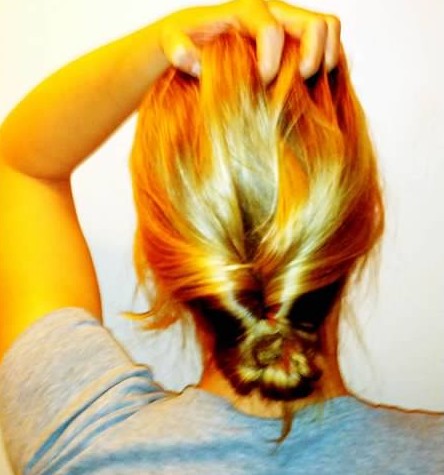
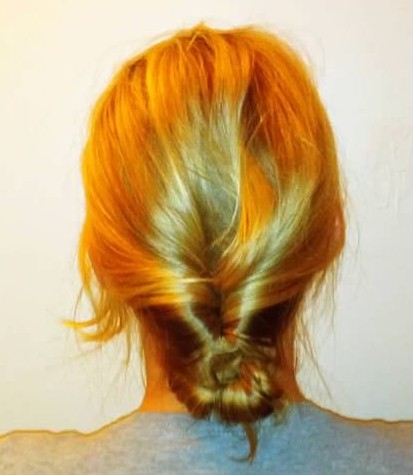
8. Guide the entire bun up and through the hole you created (like a good old fashion topsy-turvey). This can be slightly painful if you’re tender headed.
9. Pull hair from the roots at the top of your head to add more volume and loosen up the look.
10. Be sure to apply hairspray and you may need to add bobby-pins to secure certain places and insure your look will last.
11. If you want a looser look in the front, pull out a few pieces to create a more relaxed look.
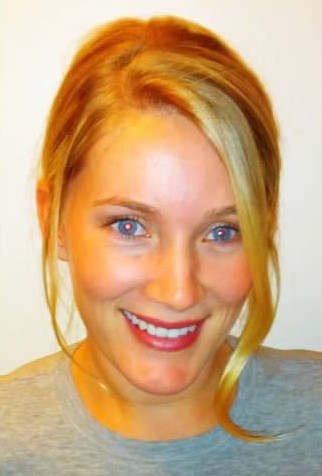
Voila! The topsy turvy bun. Thanks so much Maggie for putting this together (forgive the photos, she did this all via iPhone). Next time Maggie is in town, we’re going to do a couple more of these hair do how to’s with my camera so we’ll up the photo quality!
Let me know if you give this hair do a try. Would LOVE to see pics. Send them to danielle @ LouWhatWear.com
Hope everyone has a great weekend!


Love this- thanks Maggie!
It helps that Maggie has incredible hair!
♡ Lexi
FASHION: Glitter & Pearls
WEDDINGS: Glitter Weddings
Love the tutorials! Your girl abbey is trying it on my hair now. Can this be a monthly or weekly segment?!?!
love it! tell abby we’ll get a game of soda pong in next time i’m in cinci! i think we’re going to try and make it a monthly thing… we’re going to do a bunch of them next time maggie is in town so I have them stocked up!
Oh my gosh this is genius! Love it and am totally going to try it out. I love trying new hair styles. Thanks for sharing!
xx,
Mary
[…] lake weekend was a little bachelorette celebration in honor of my pal Maggie (who did this great hair tutorial post that got great response …. we’re hoping to do another soon). She is insanely good at […]
[…] some friends to send me pictures of their Forecastle Fun. Big thanks to my pal Maggie (who has helped out here before) for all the great shots of the […]
[…] lake weekend was a little bachelorette celebration in honor of my pal Maggie (who did this great hair tutorial post that got great response …. we’re hoping to do another soon). She is insanely good at […]